How many shortcuts can you remember? Three? Five? More? I try to learn as many as I can and still forget some of them…
What if you could unlock IntelliJ IDEA features, without having to remember shortcuts? You can still use shortcuts if you want. But you don’t have to.
Command completion (..) is a new feature in IntelliJ IDEA that lets you discover and execute IDE actions right from your editor.
Command completion extends regular completion
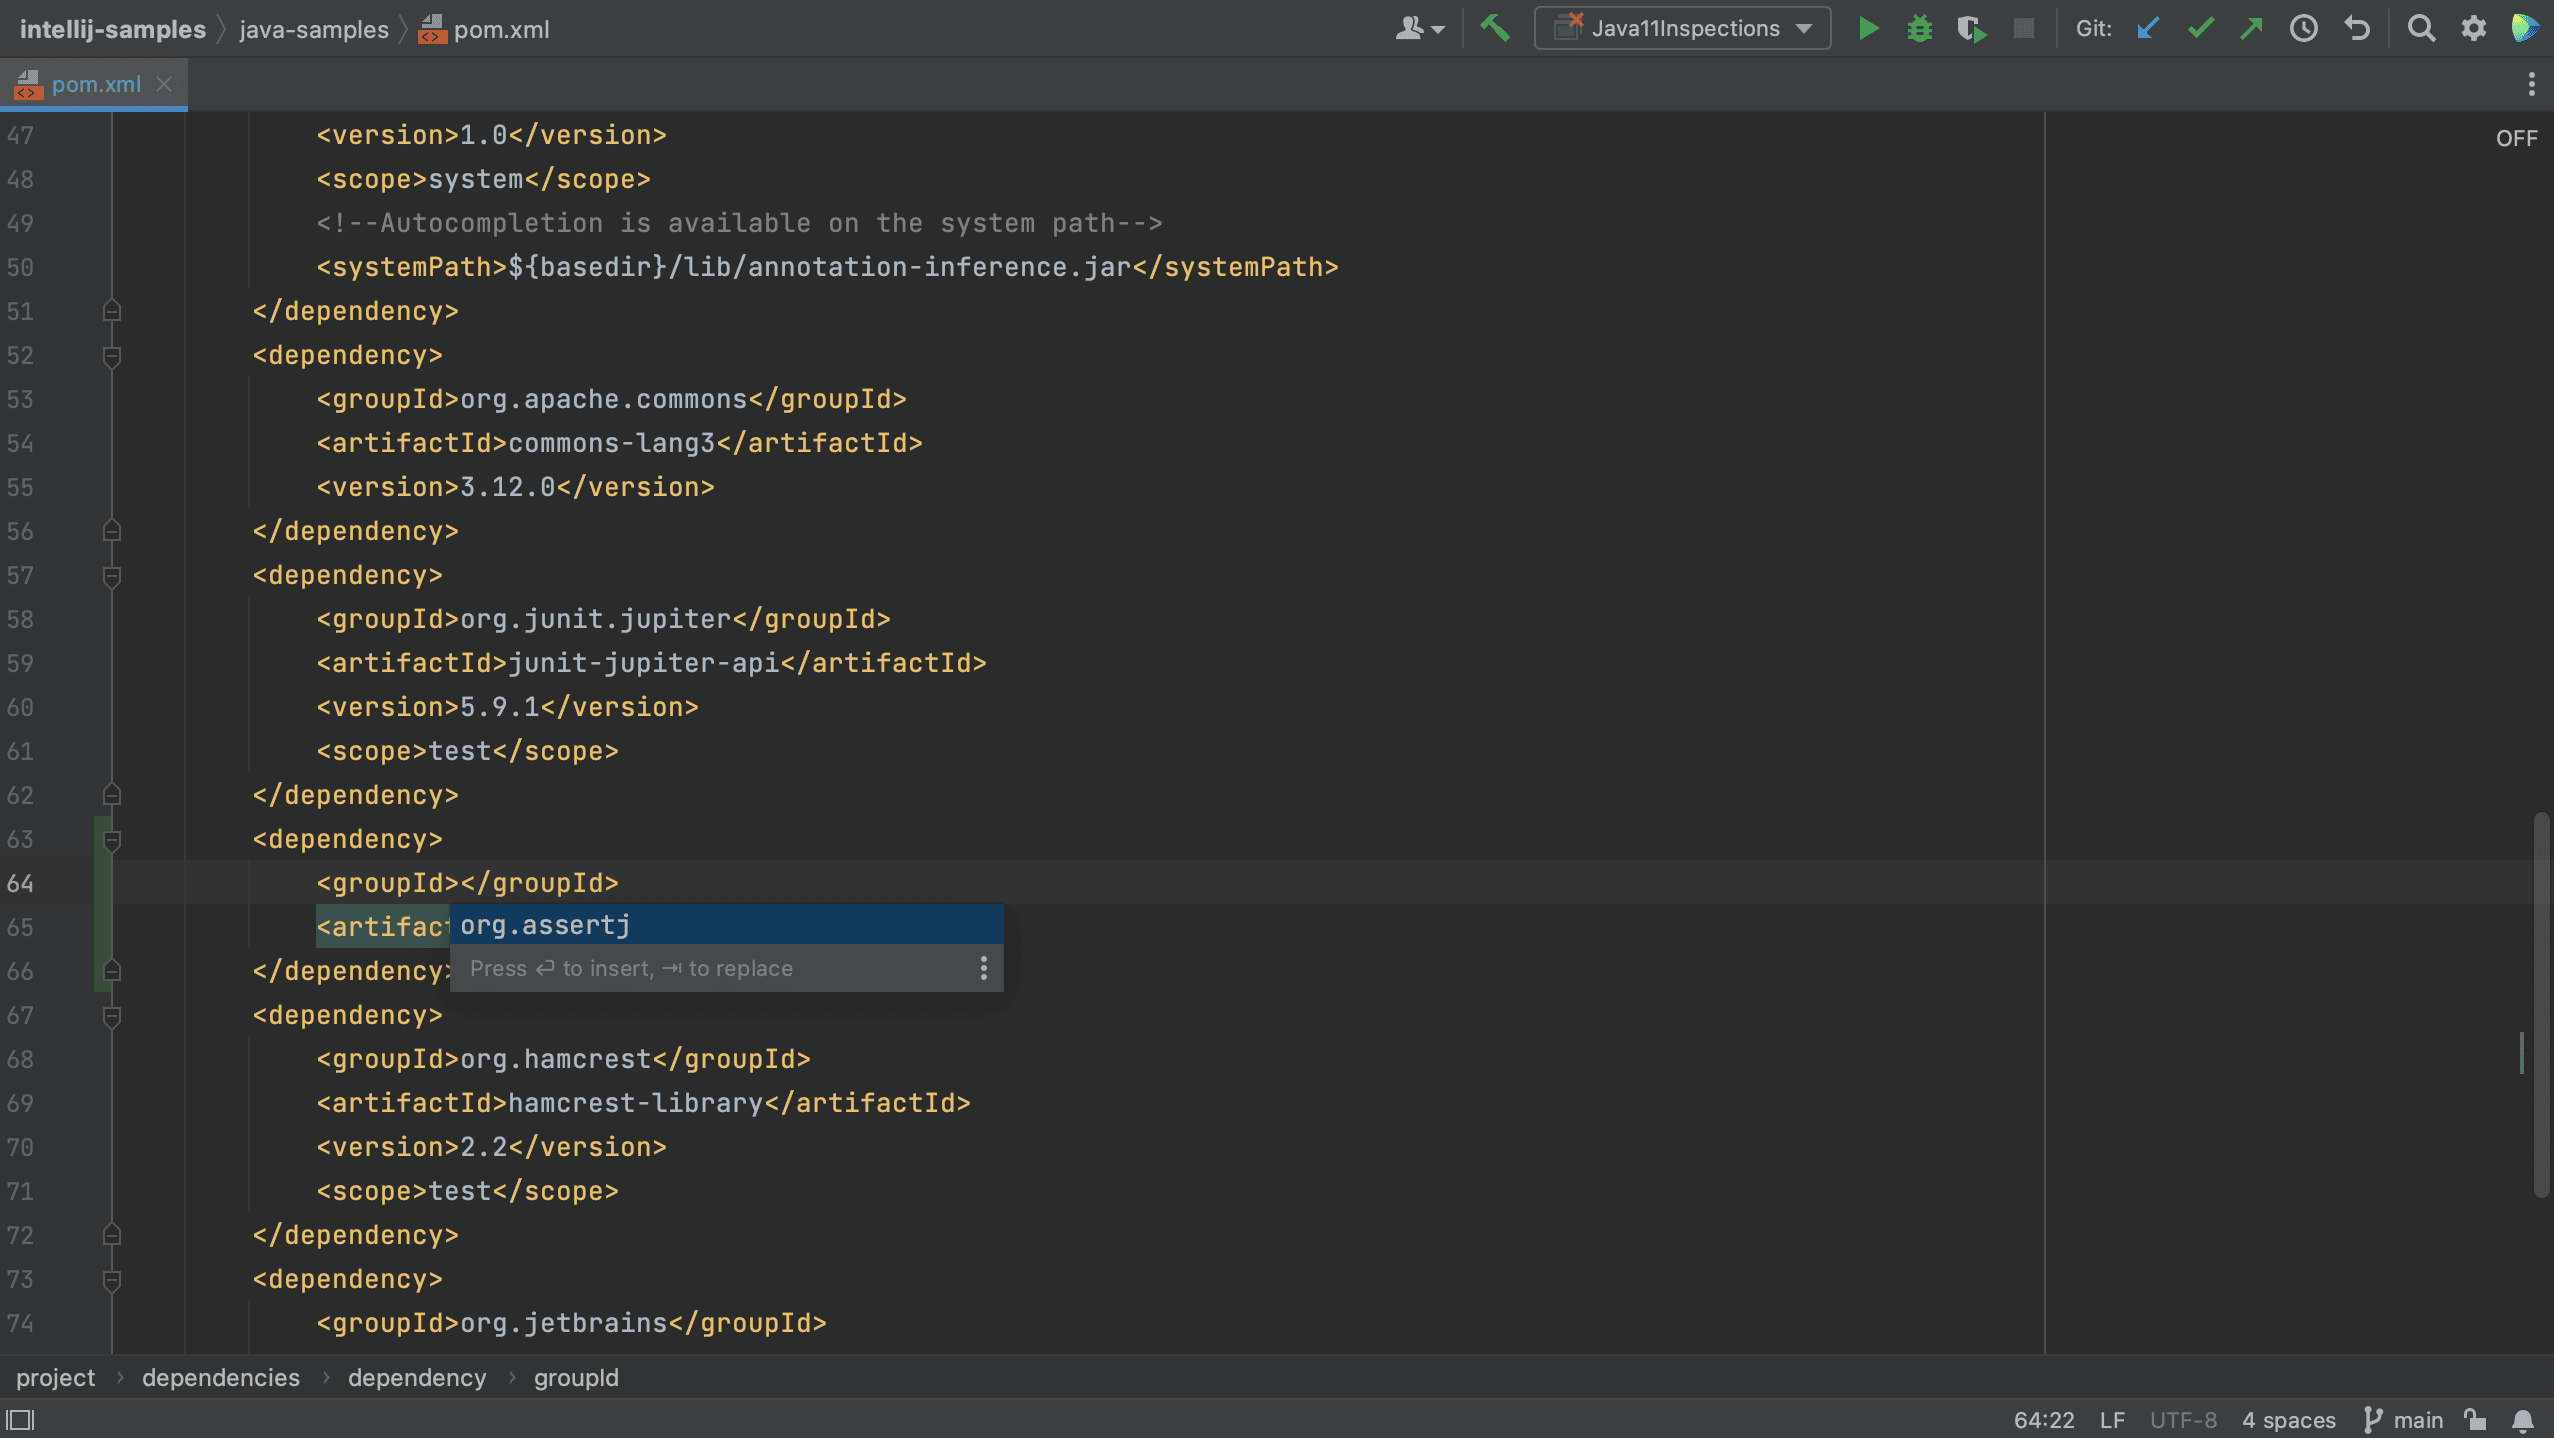
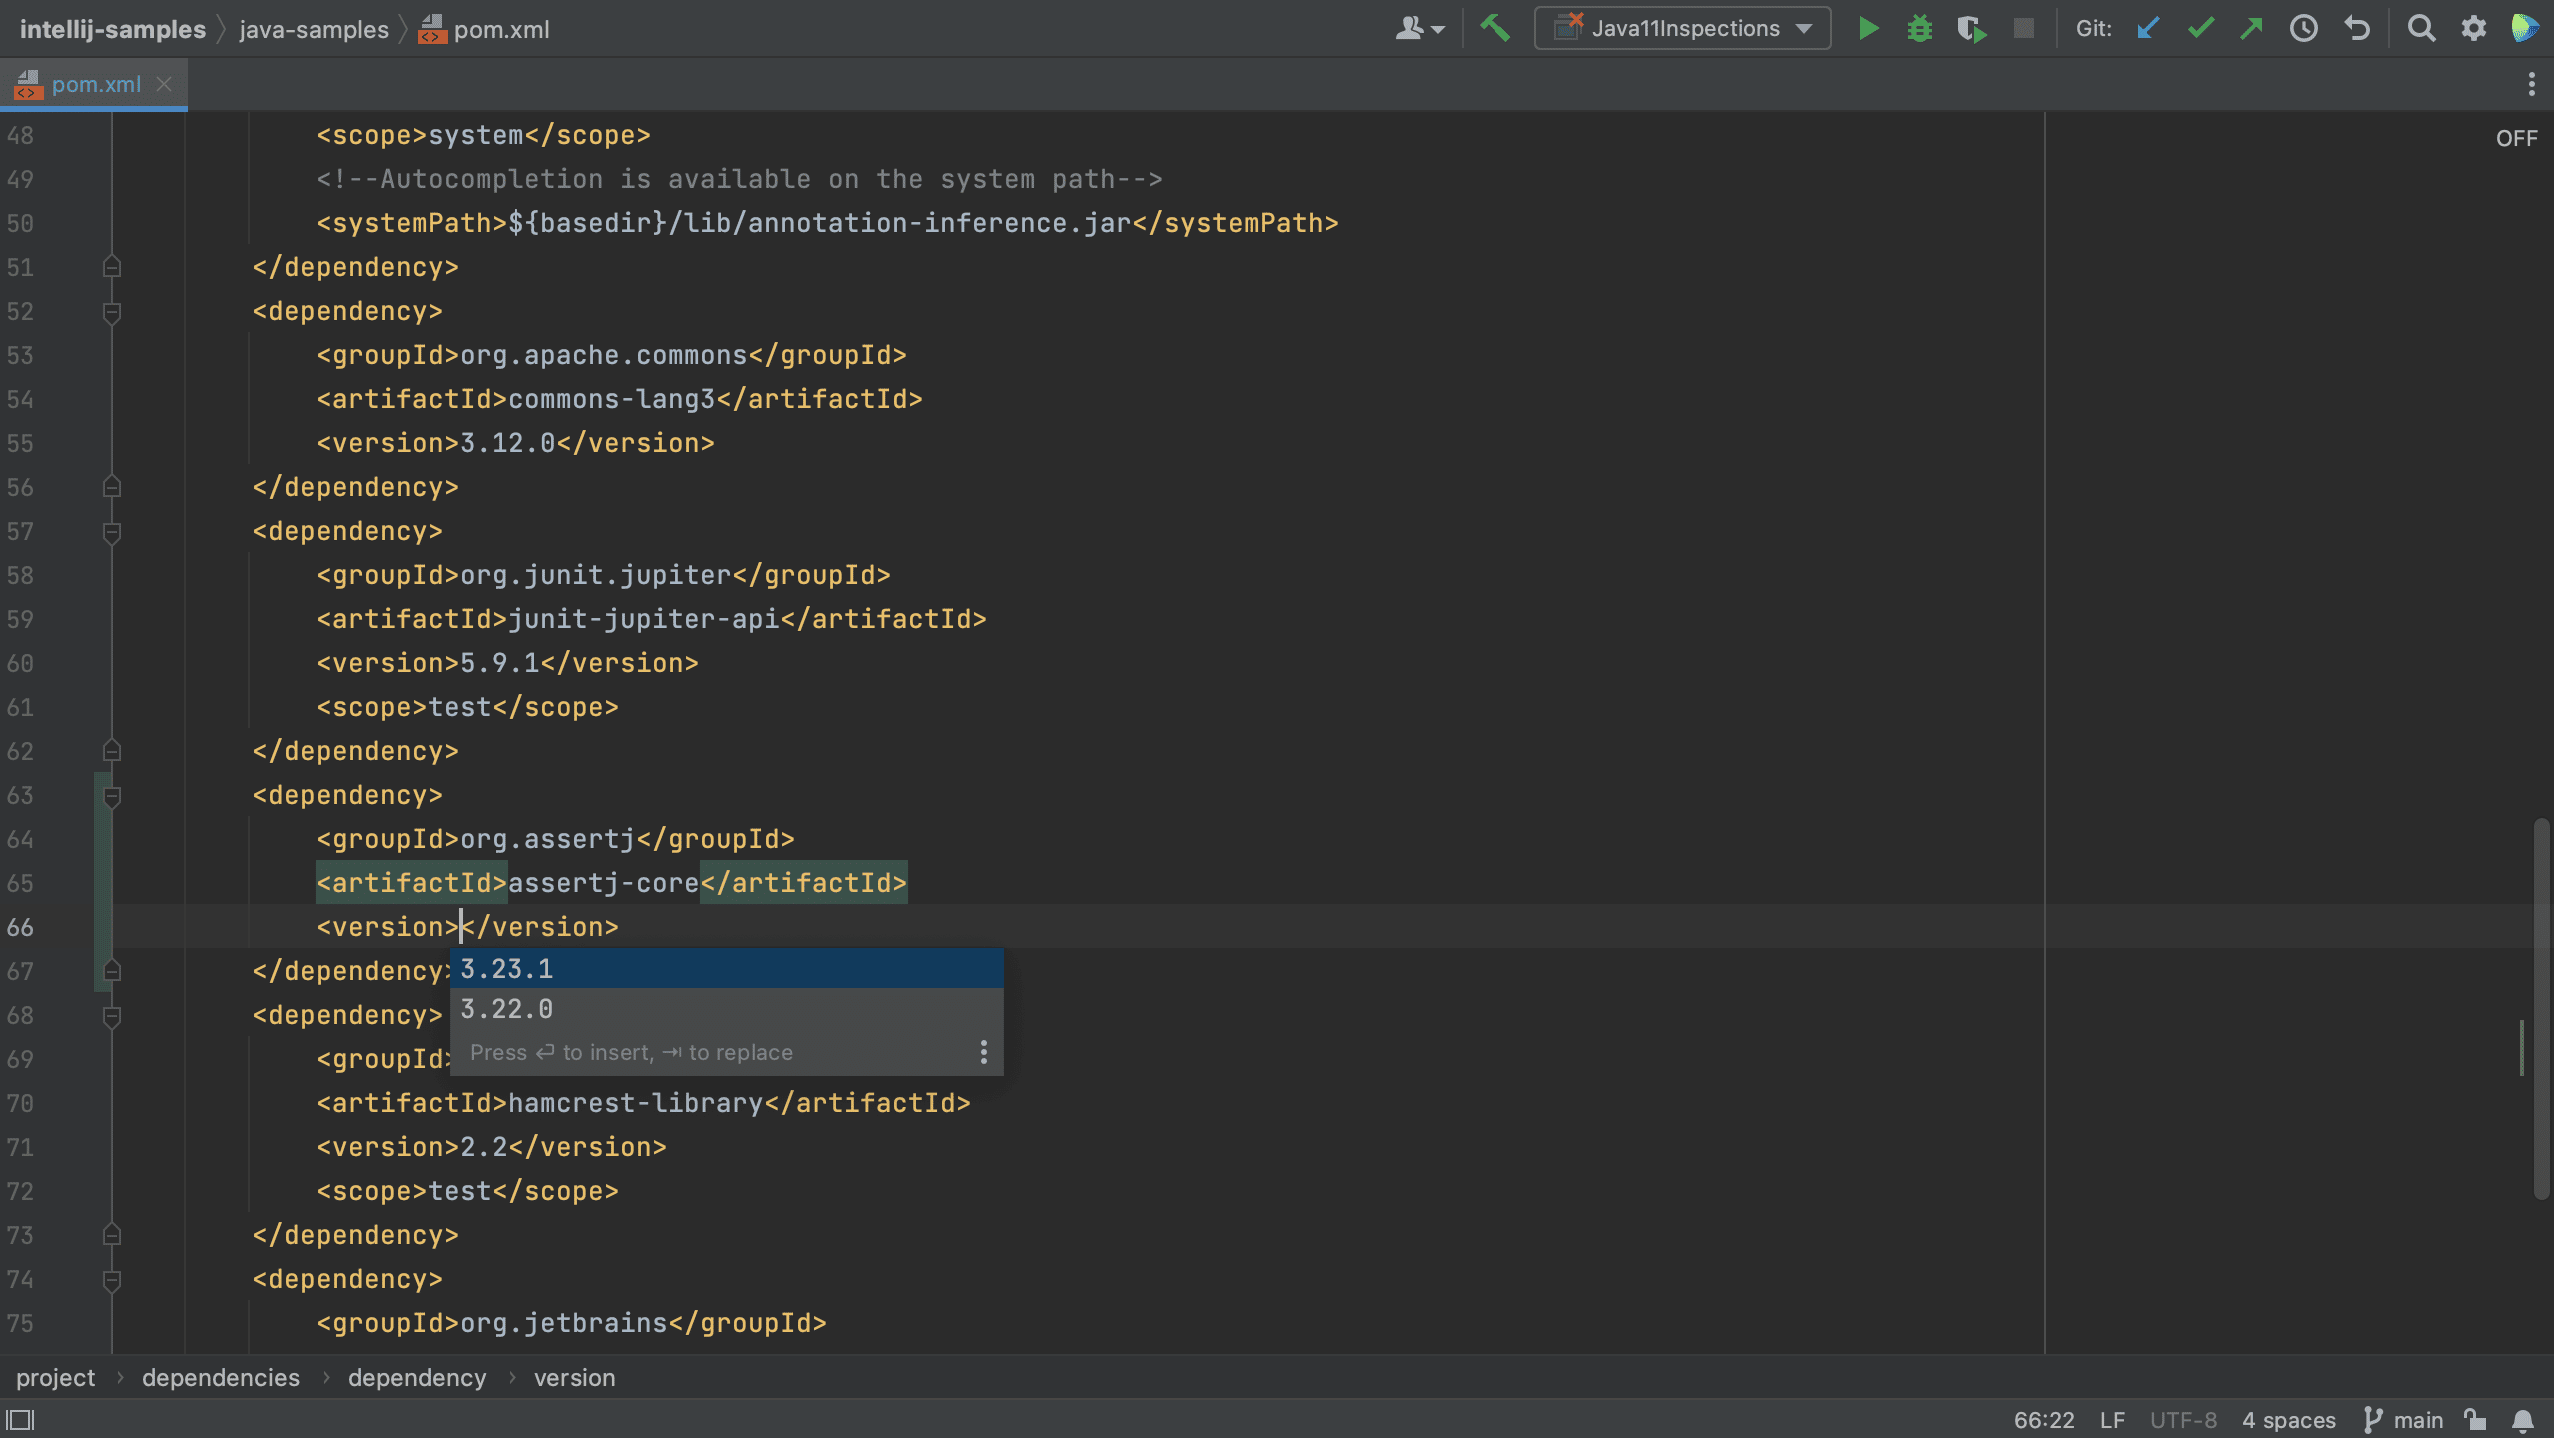
Command completion is an extension of regular code completion – something every developer already uses. For example, when you have a variable, you can type a dot to show you completion options. It will show you API completion (all of the methods you can call on this variable), and postfix completion (templates you can apply to this variable). The list now also includes commands; all relevant commands for your current context. Code completion (a single dot) is now a universal entry point for all relevant actions.
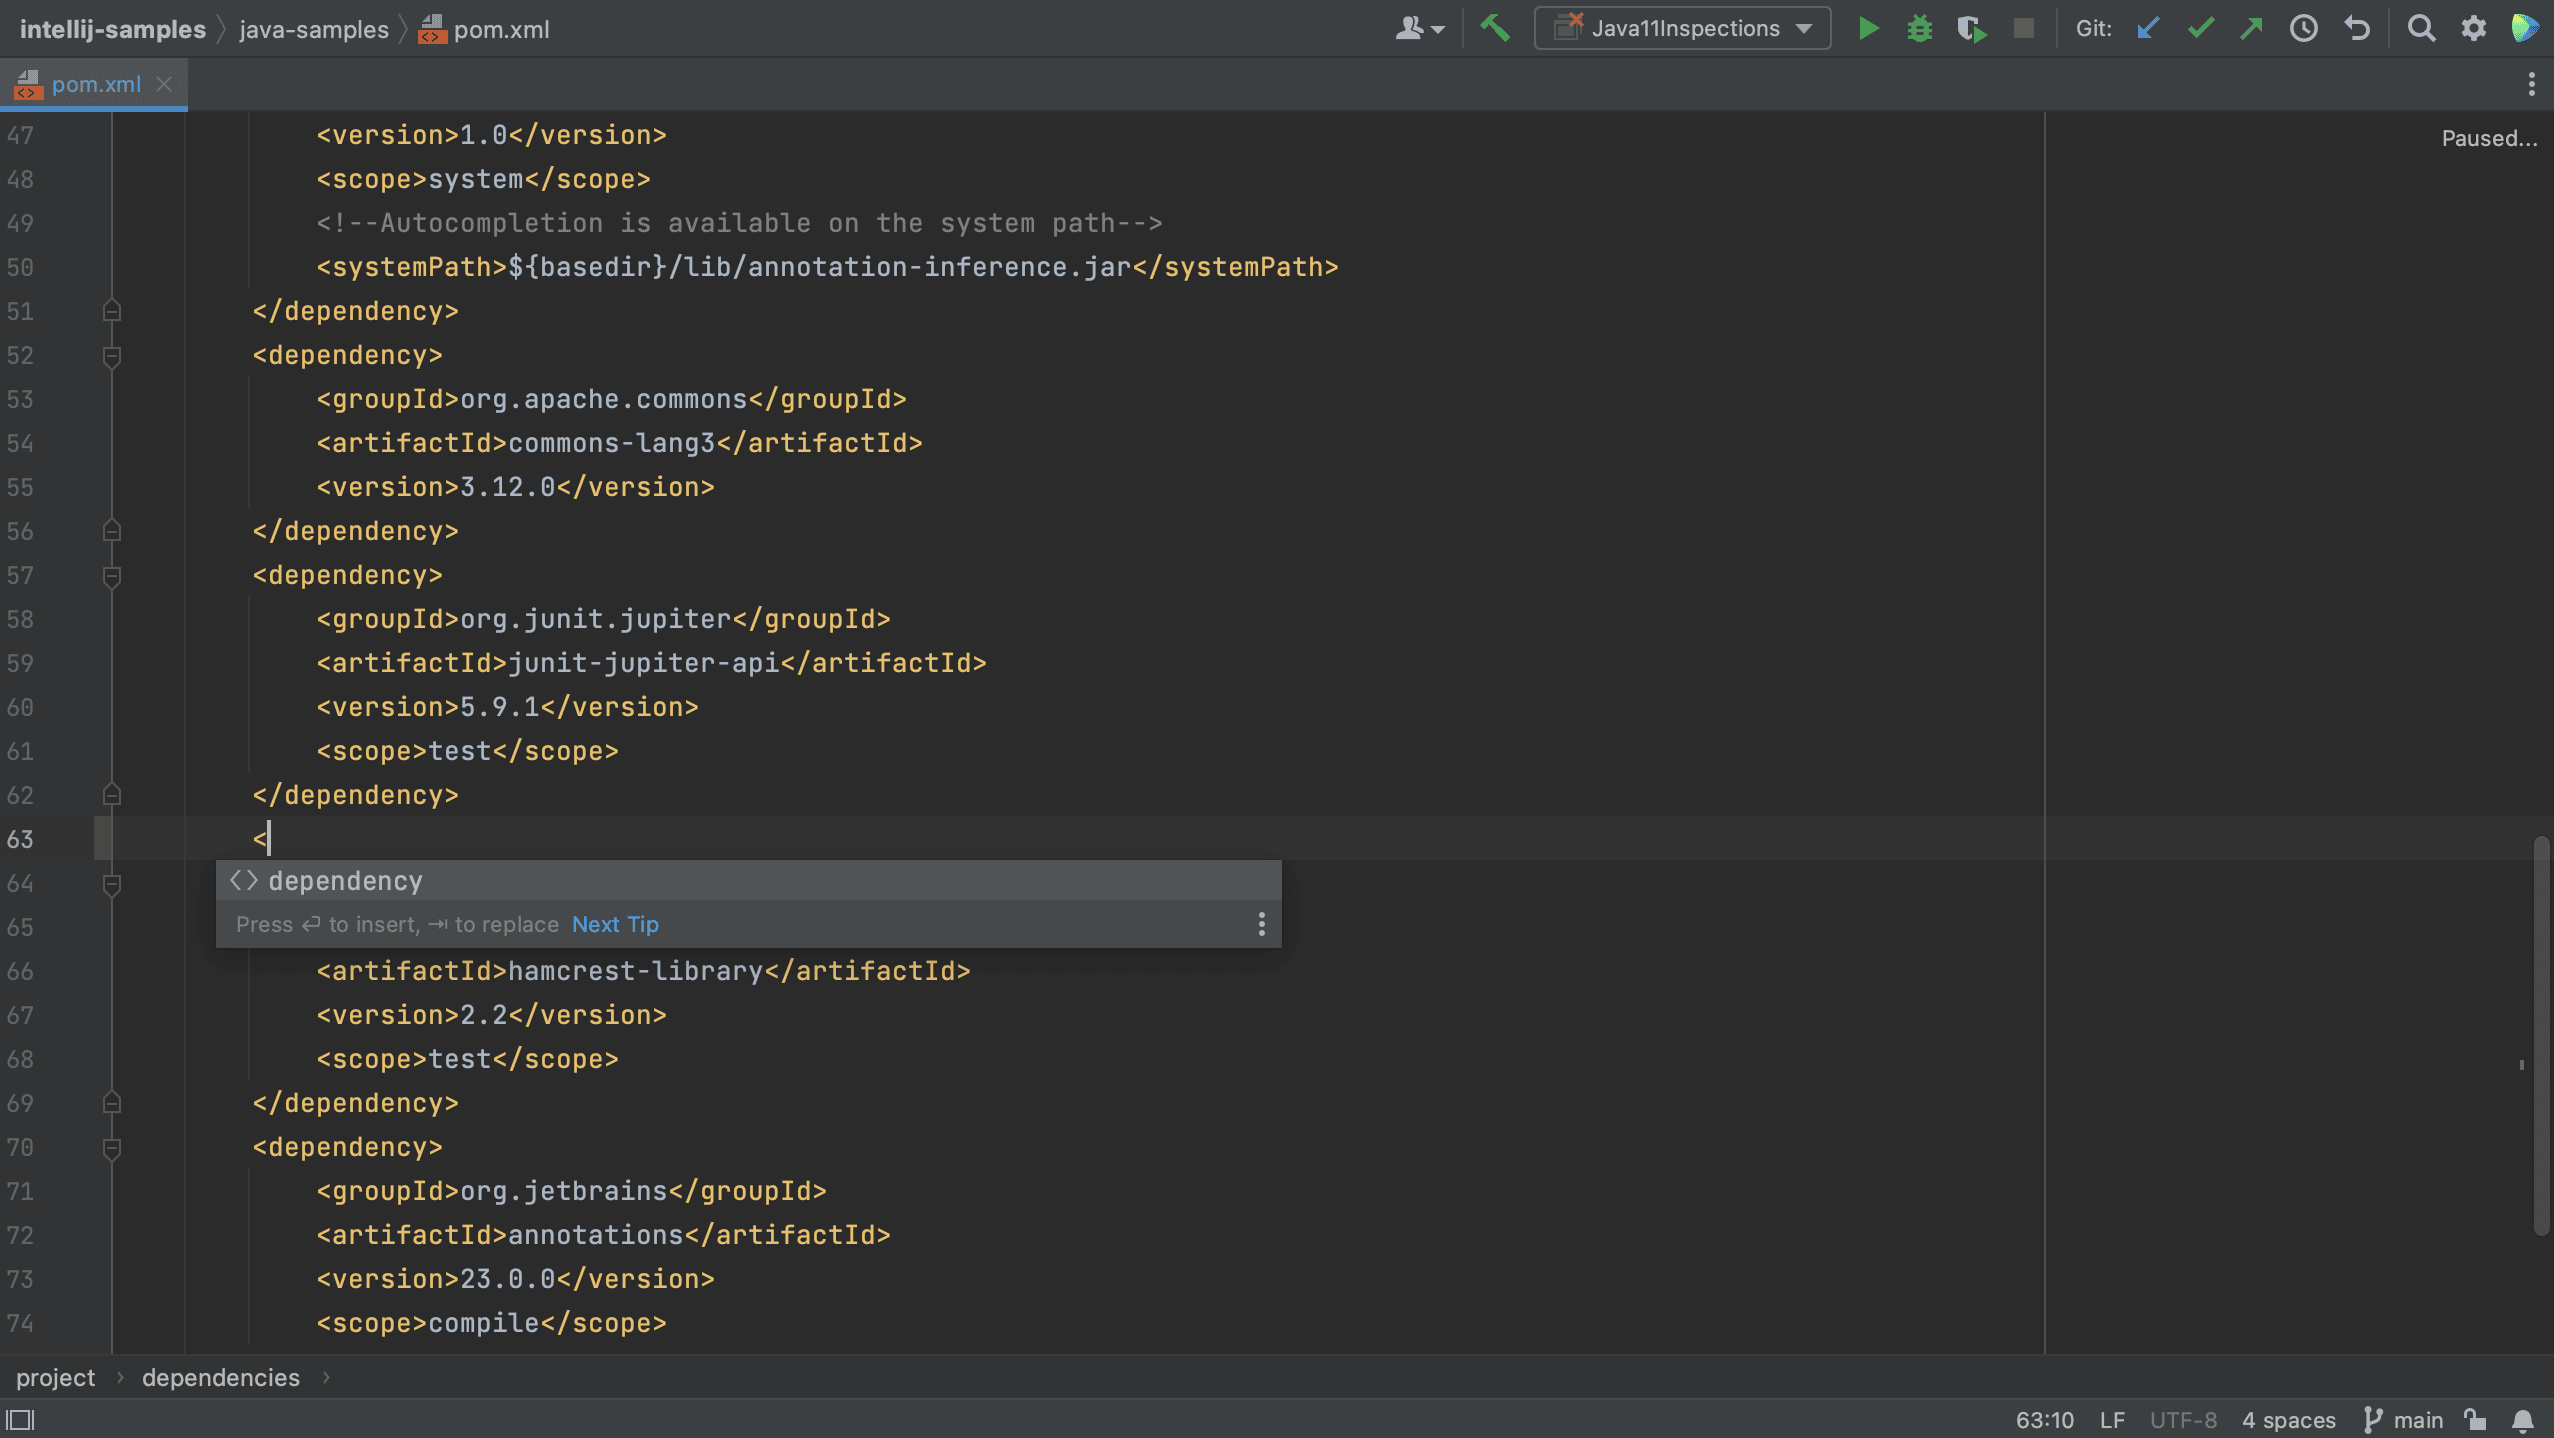
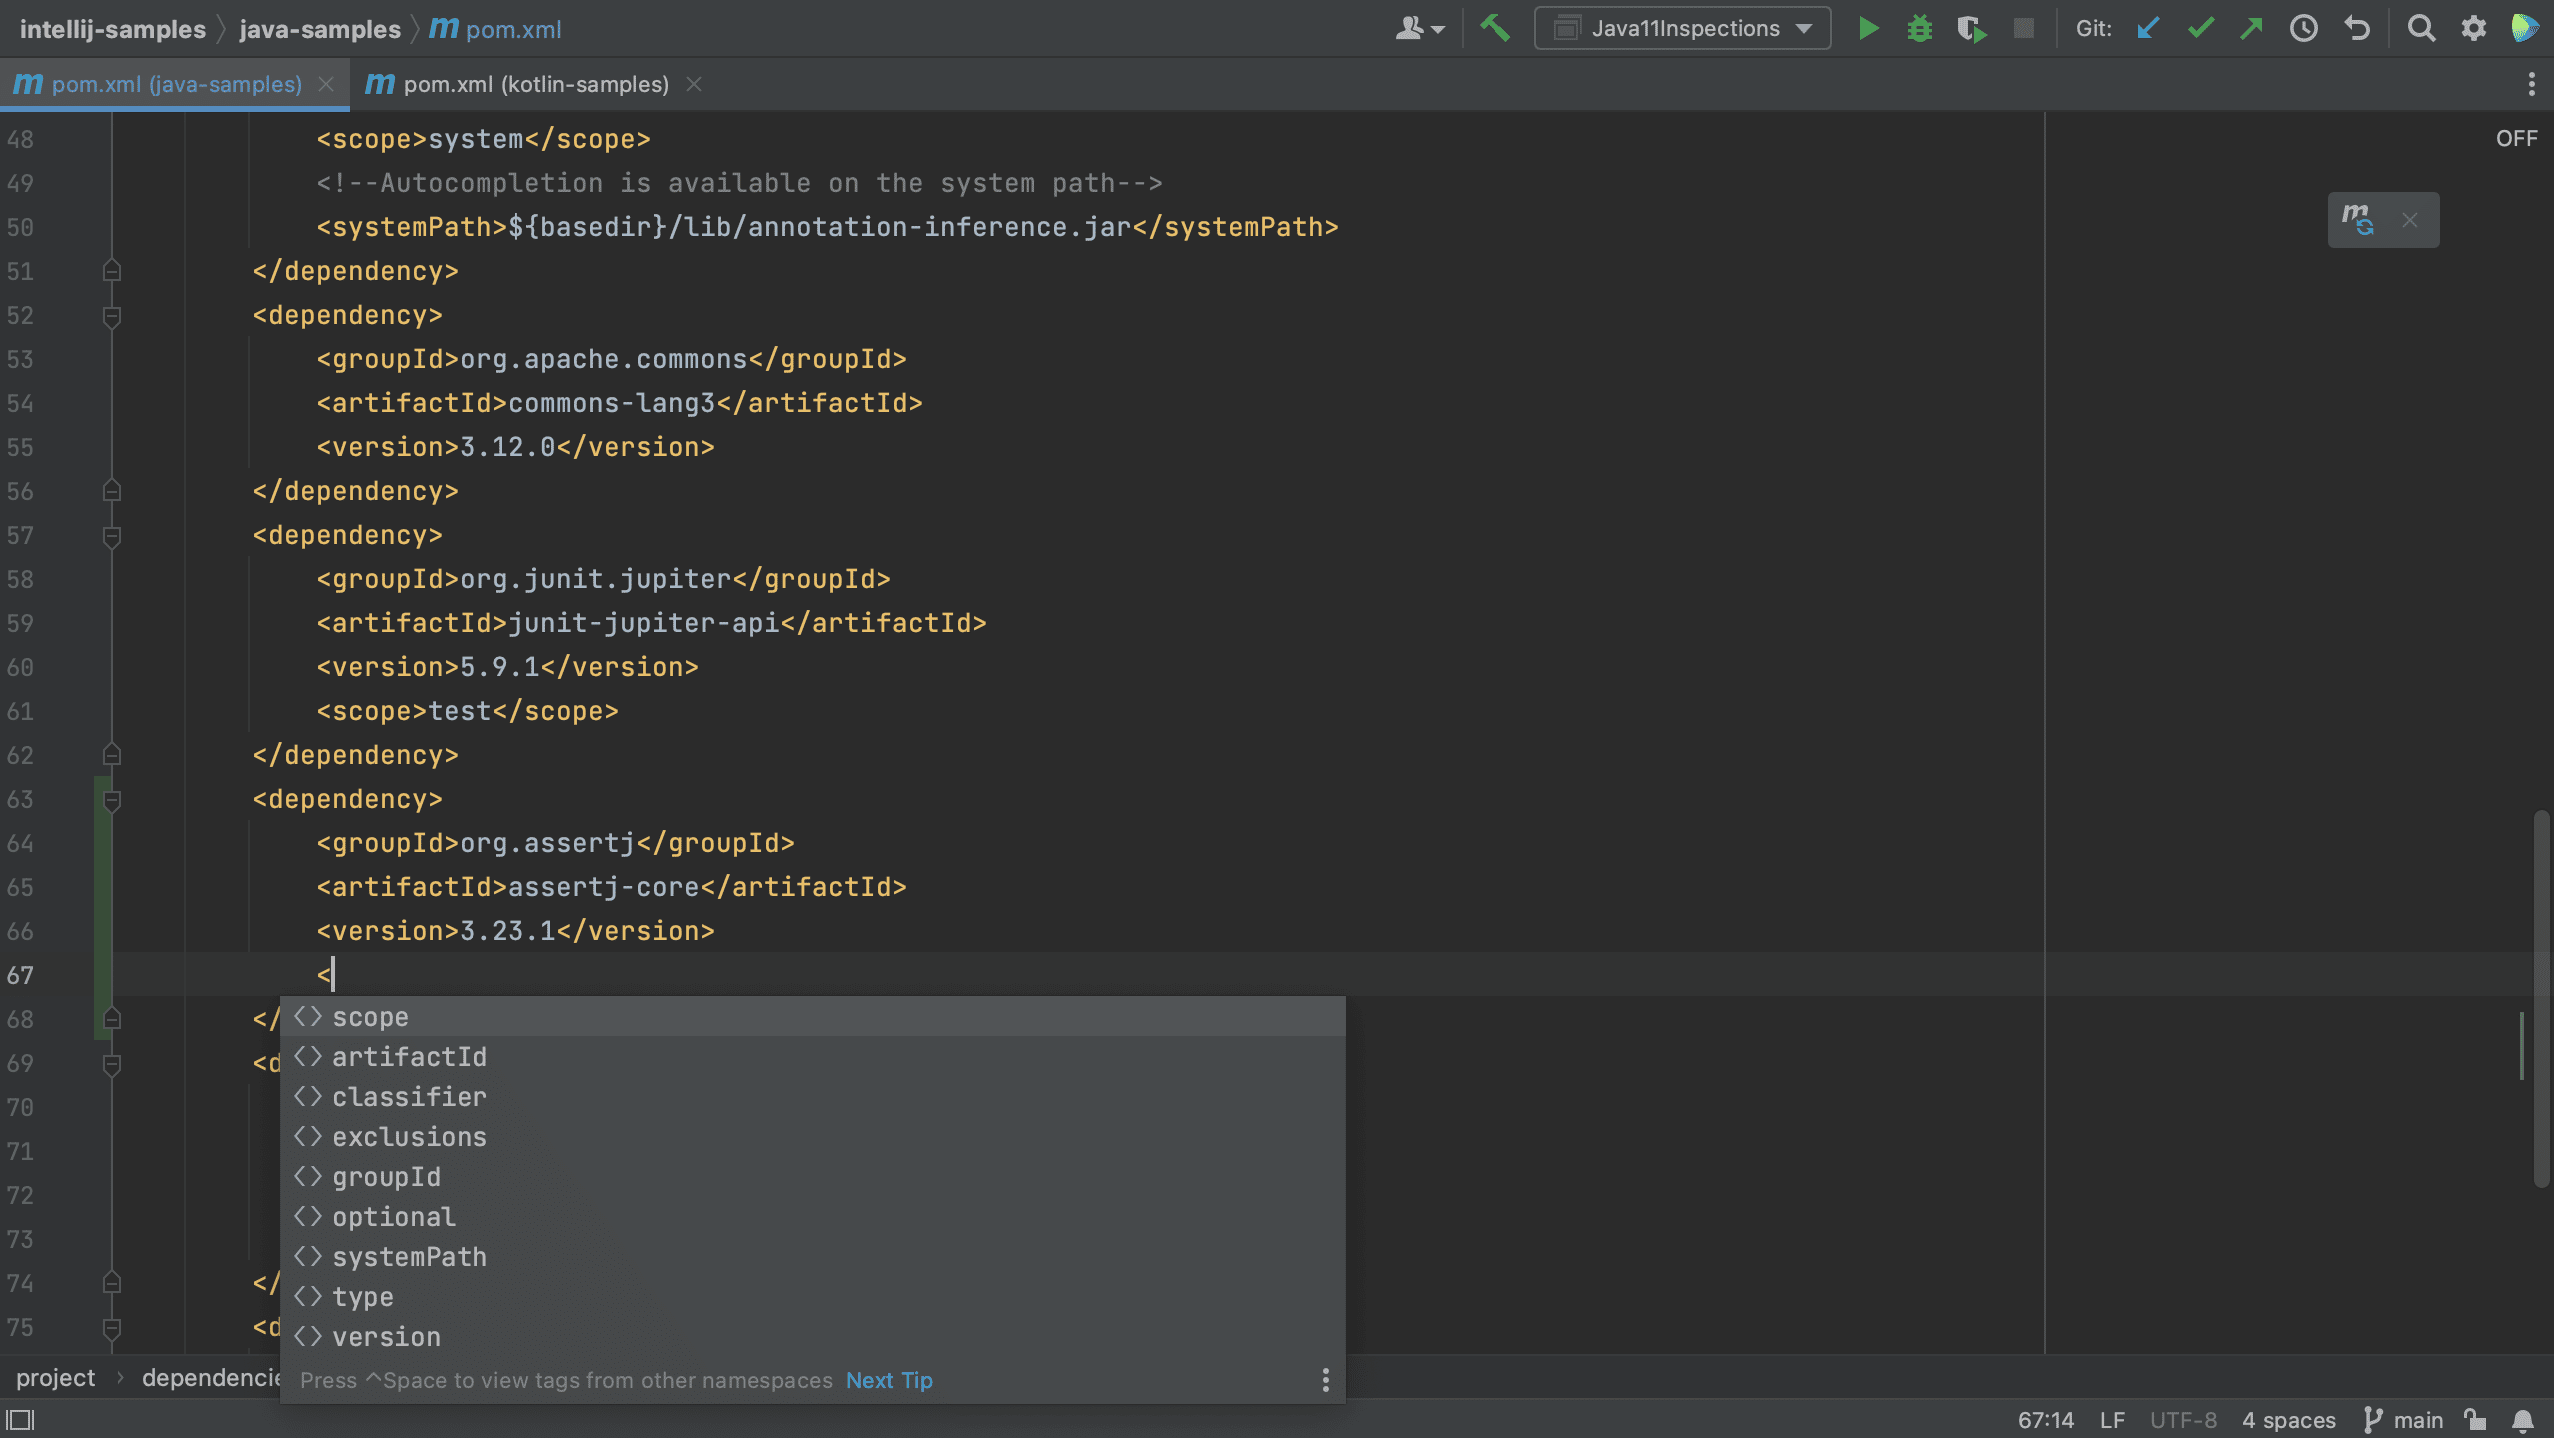
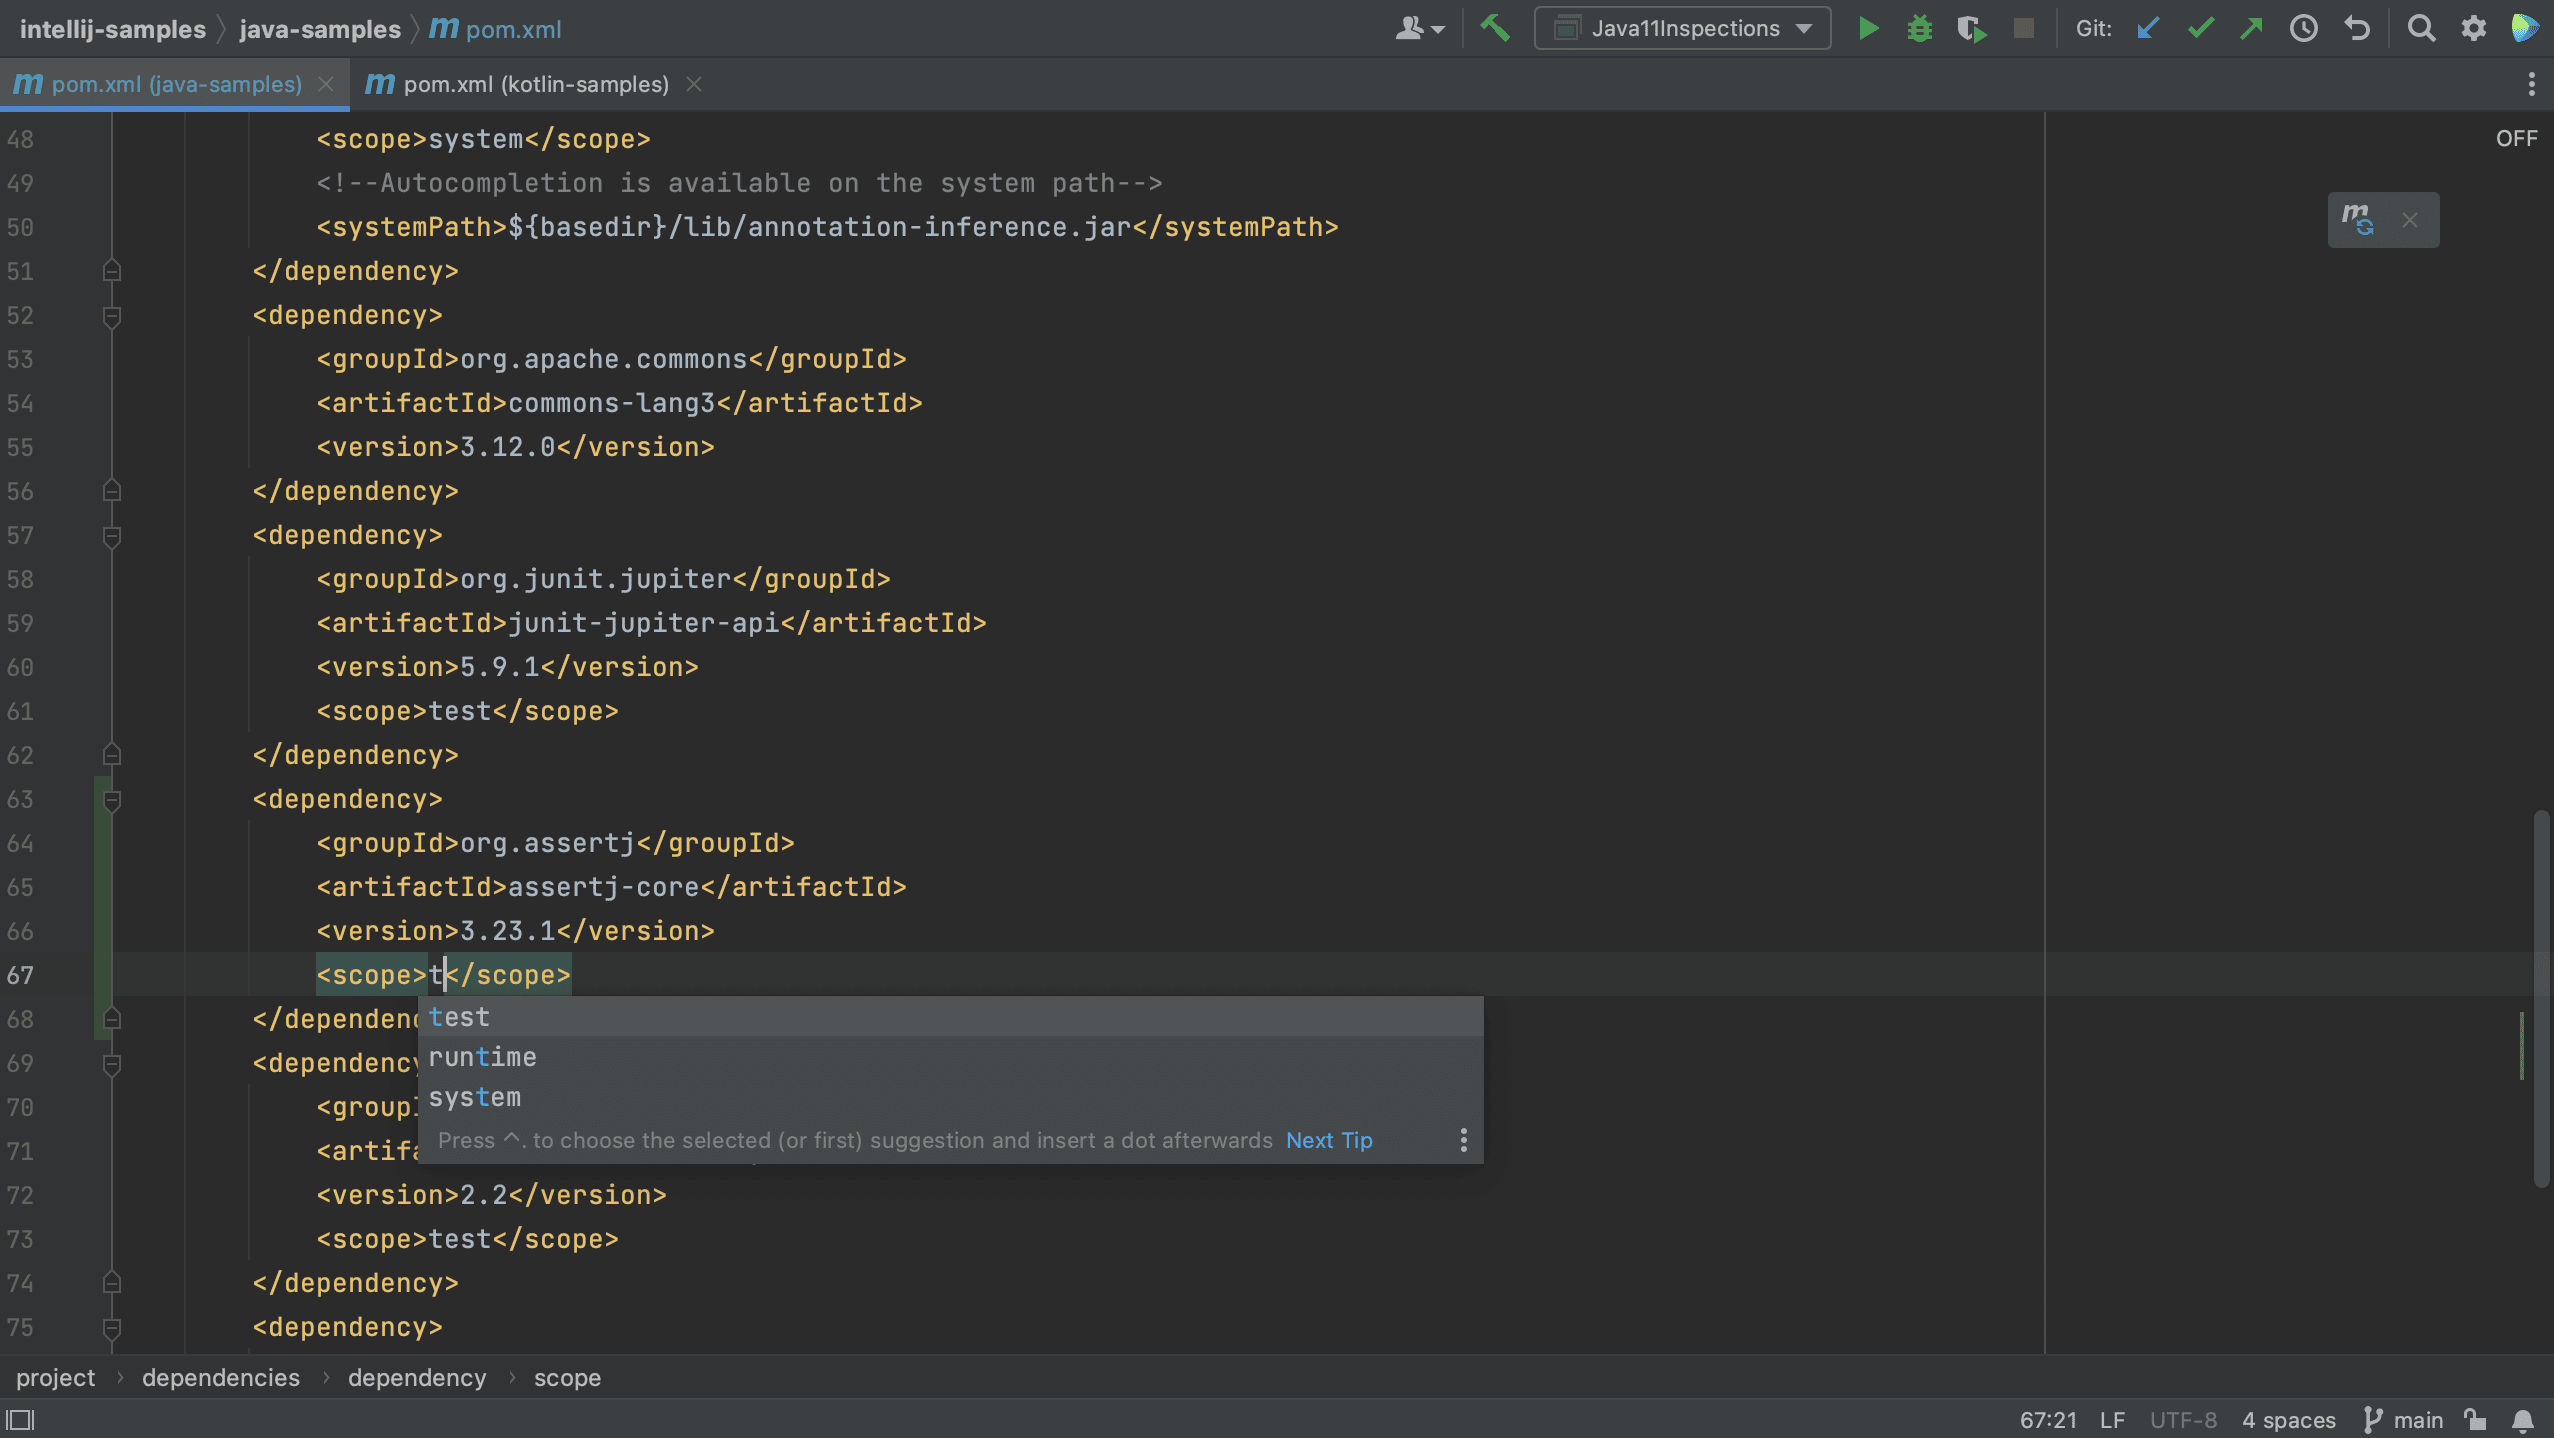
To filter the list to show commands only, type two dots ... As the list can be quite long, the list is searchable, so you can type part of the command you want to use.
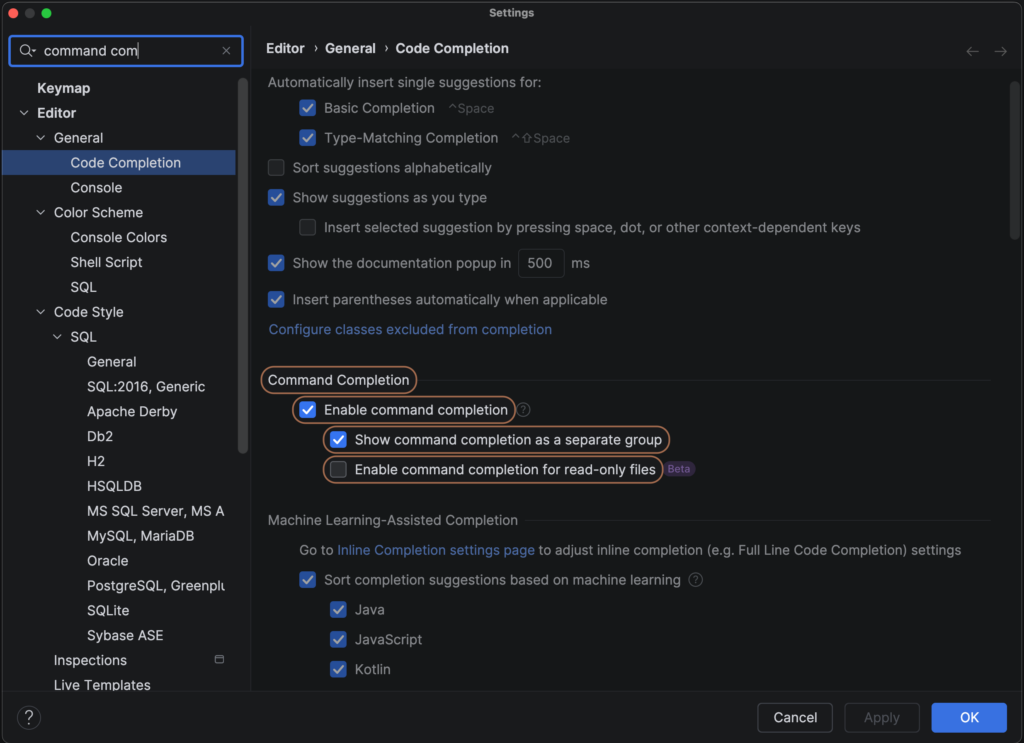
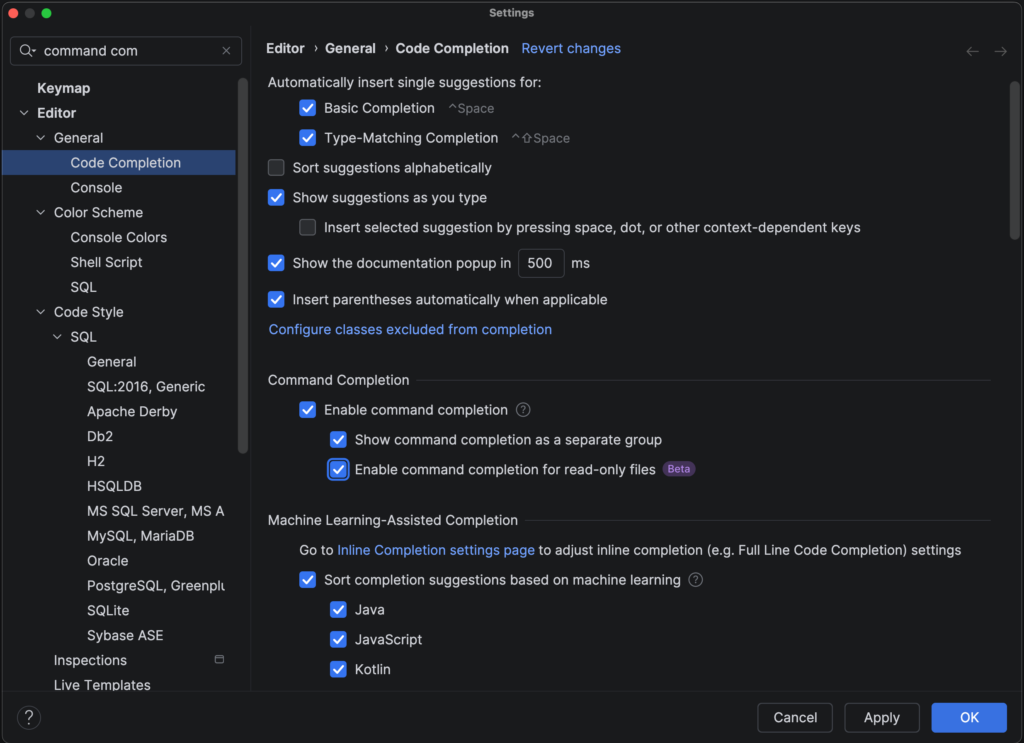
By default, the commands are shown in a separate section of the list. If you prefer Commands to be part of the regular completion list, you can adjust this in the Settings. Use Search Everywhere (Shift Shift) and look for “command completion” to go straight to the relevant settings and uncheck the option Show command completion as a separate group.
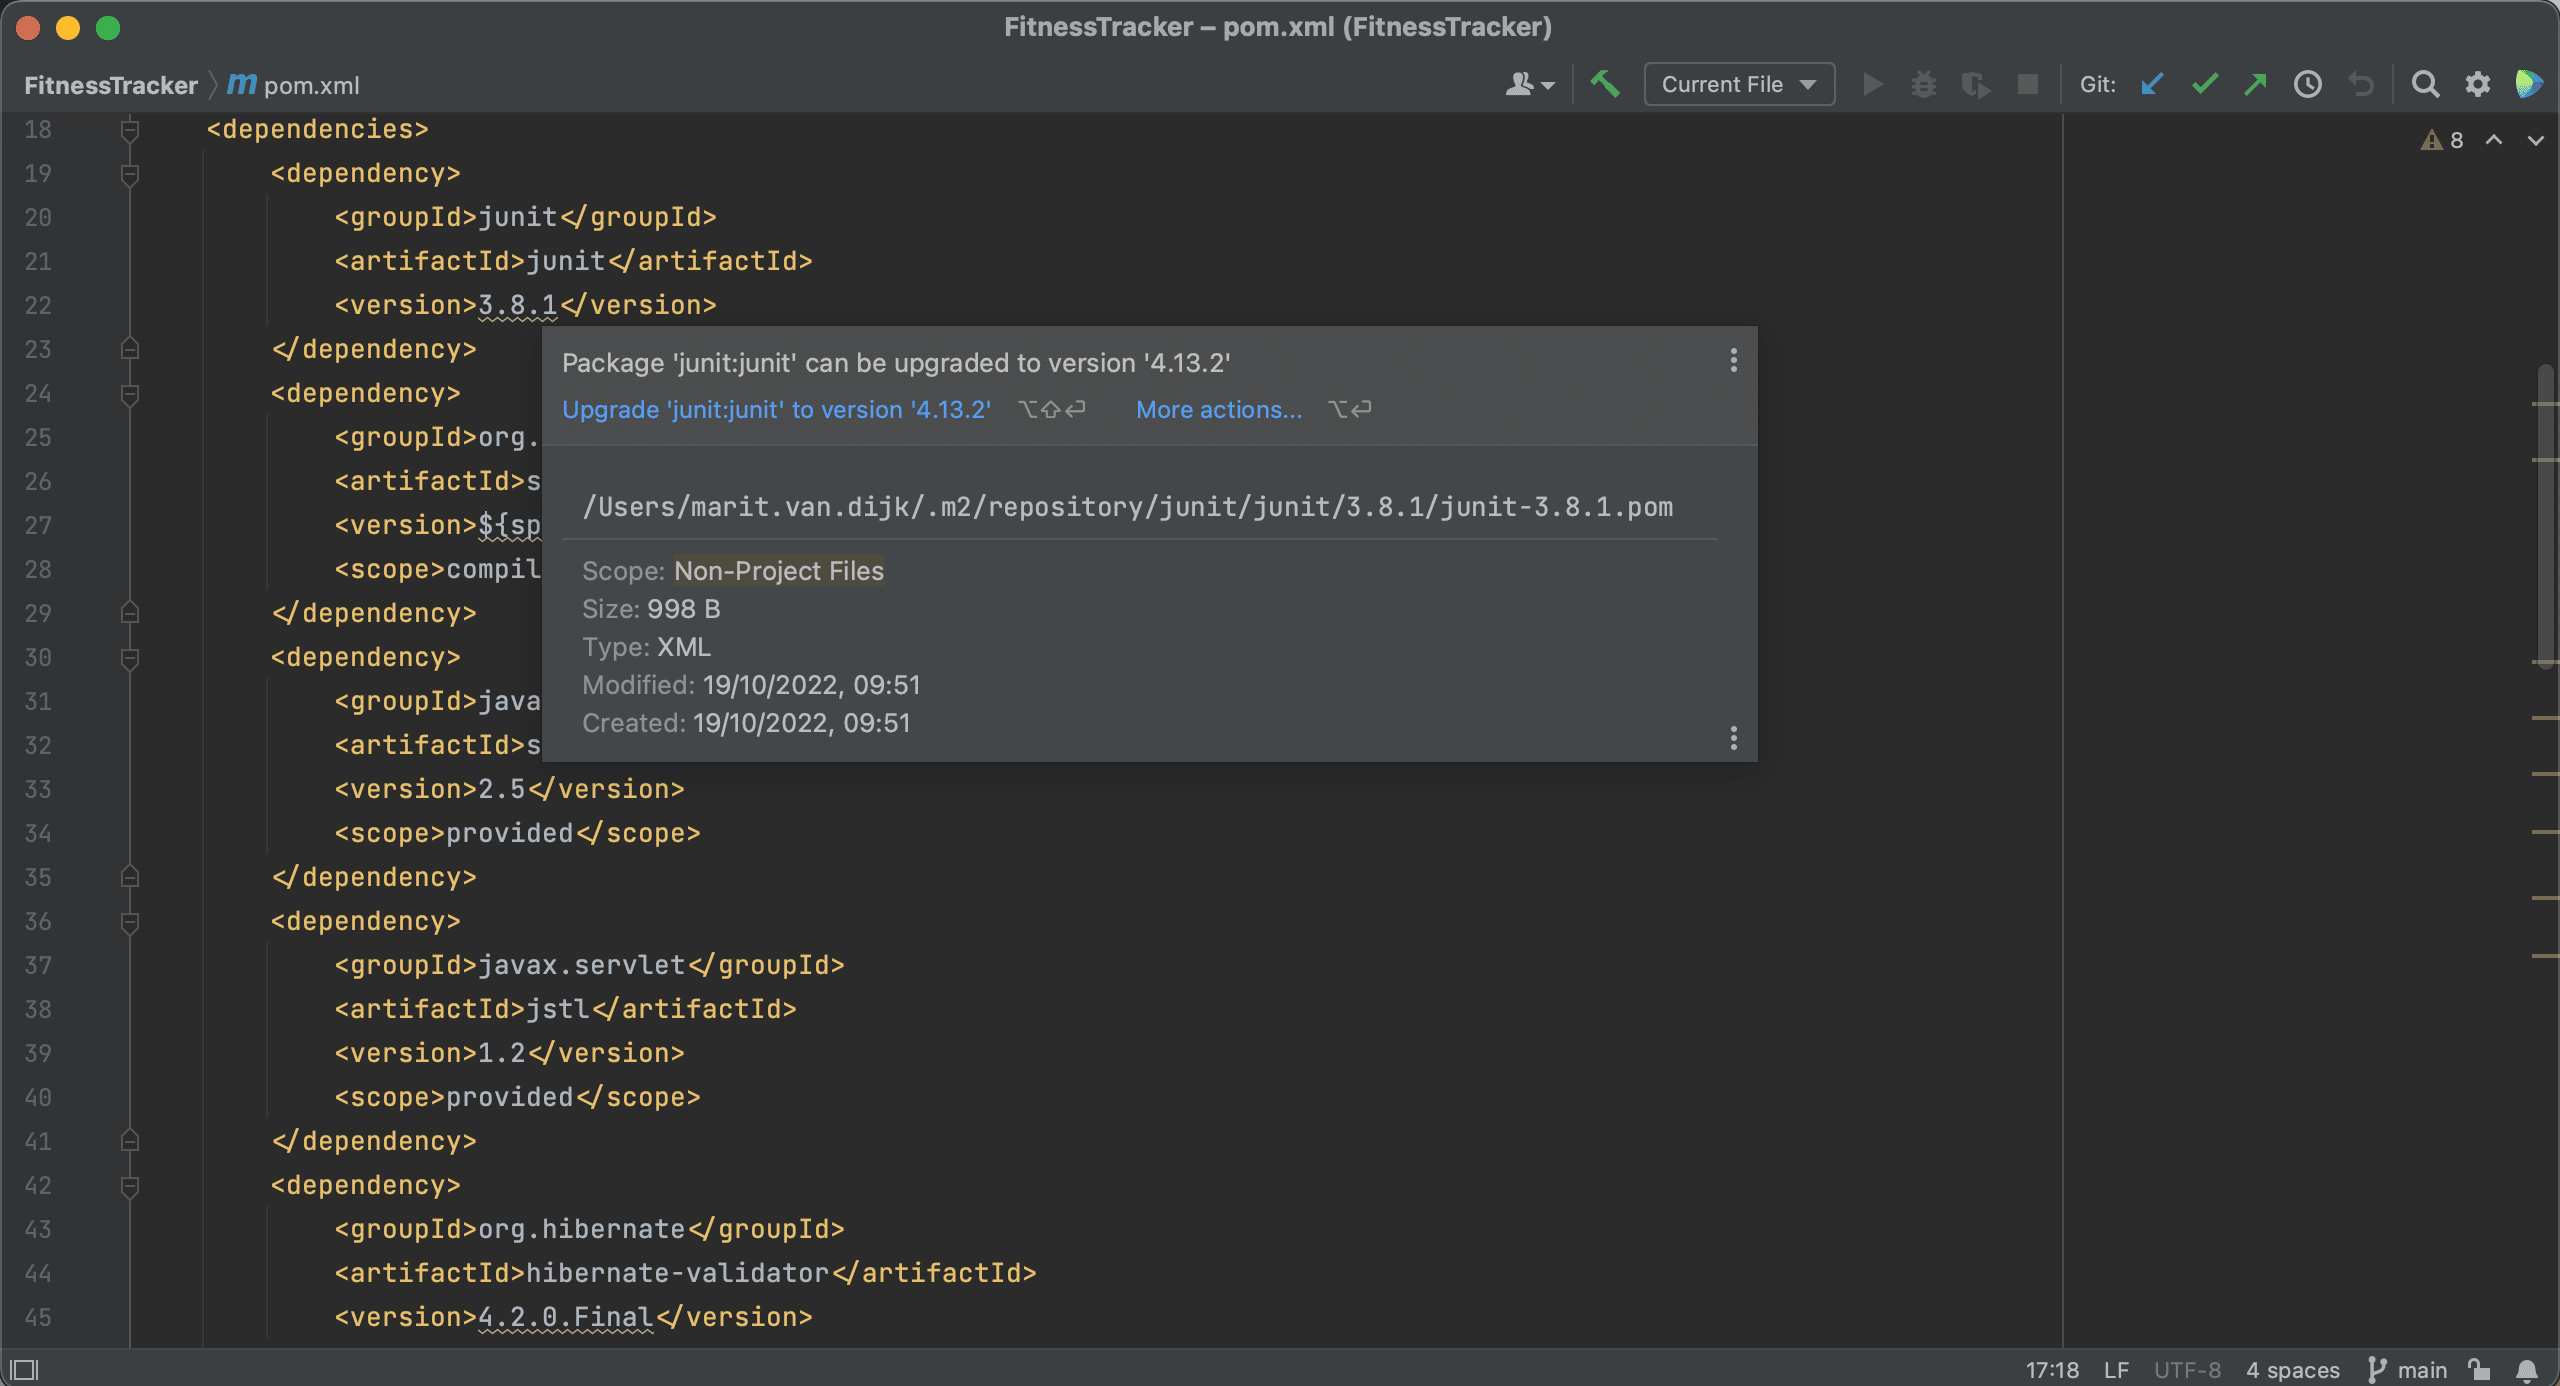
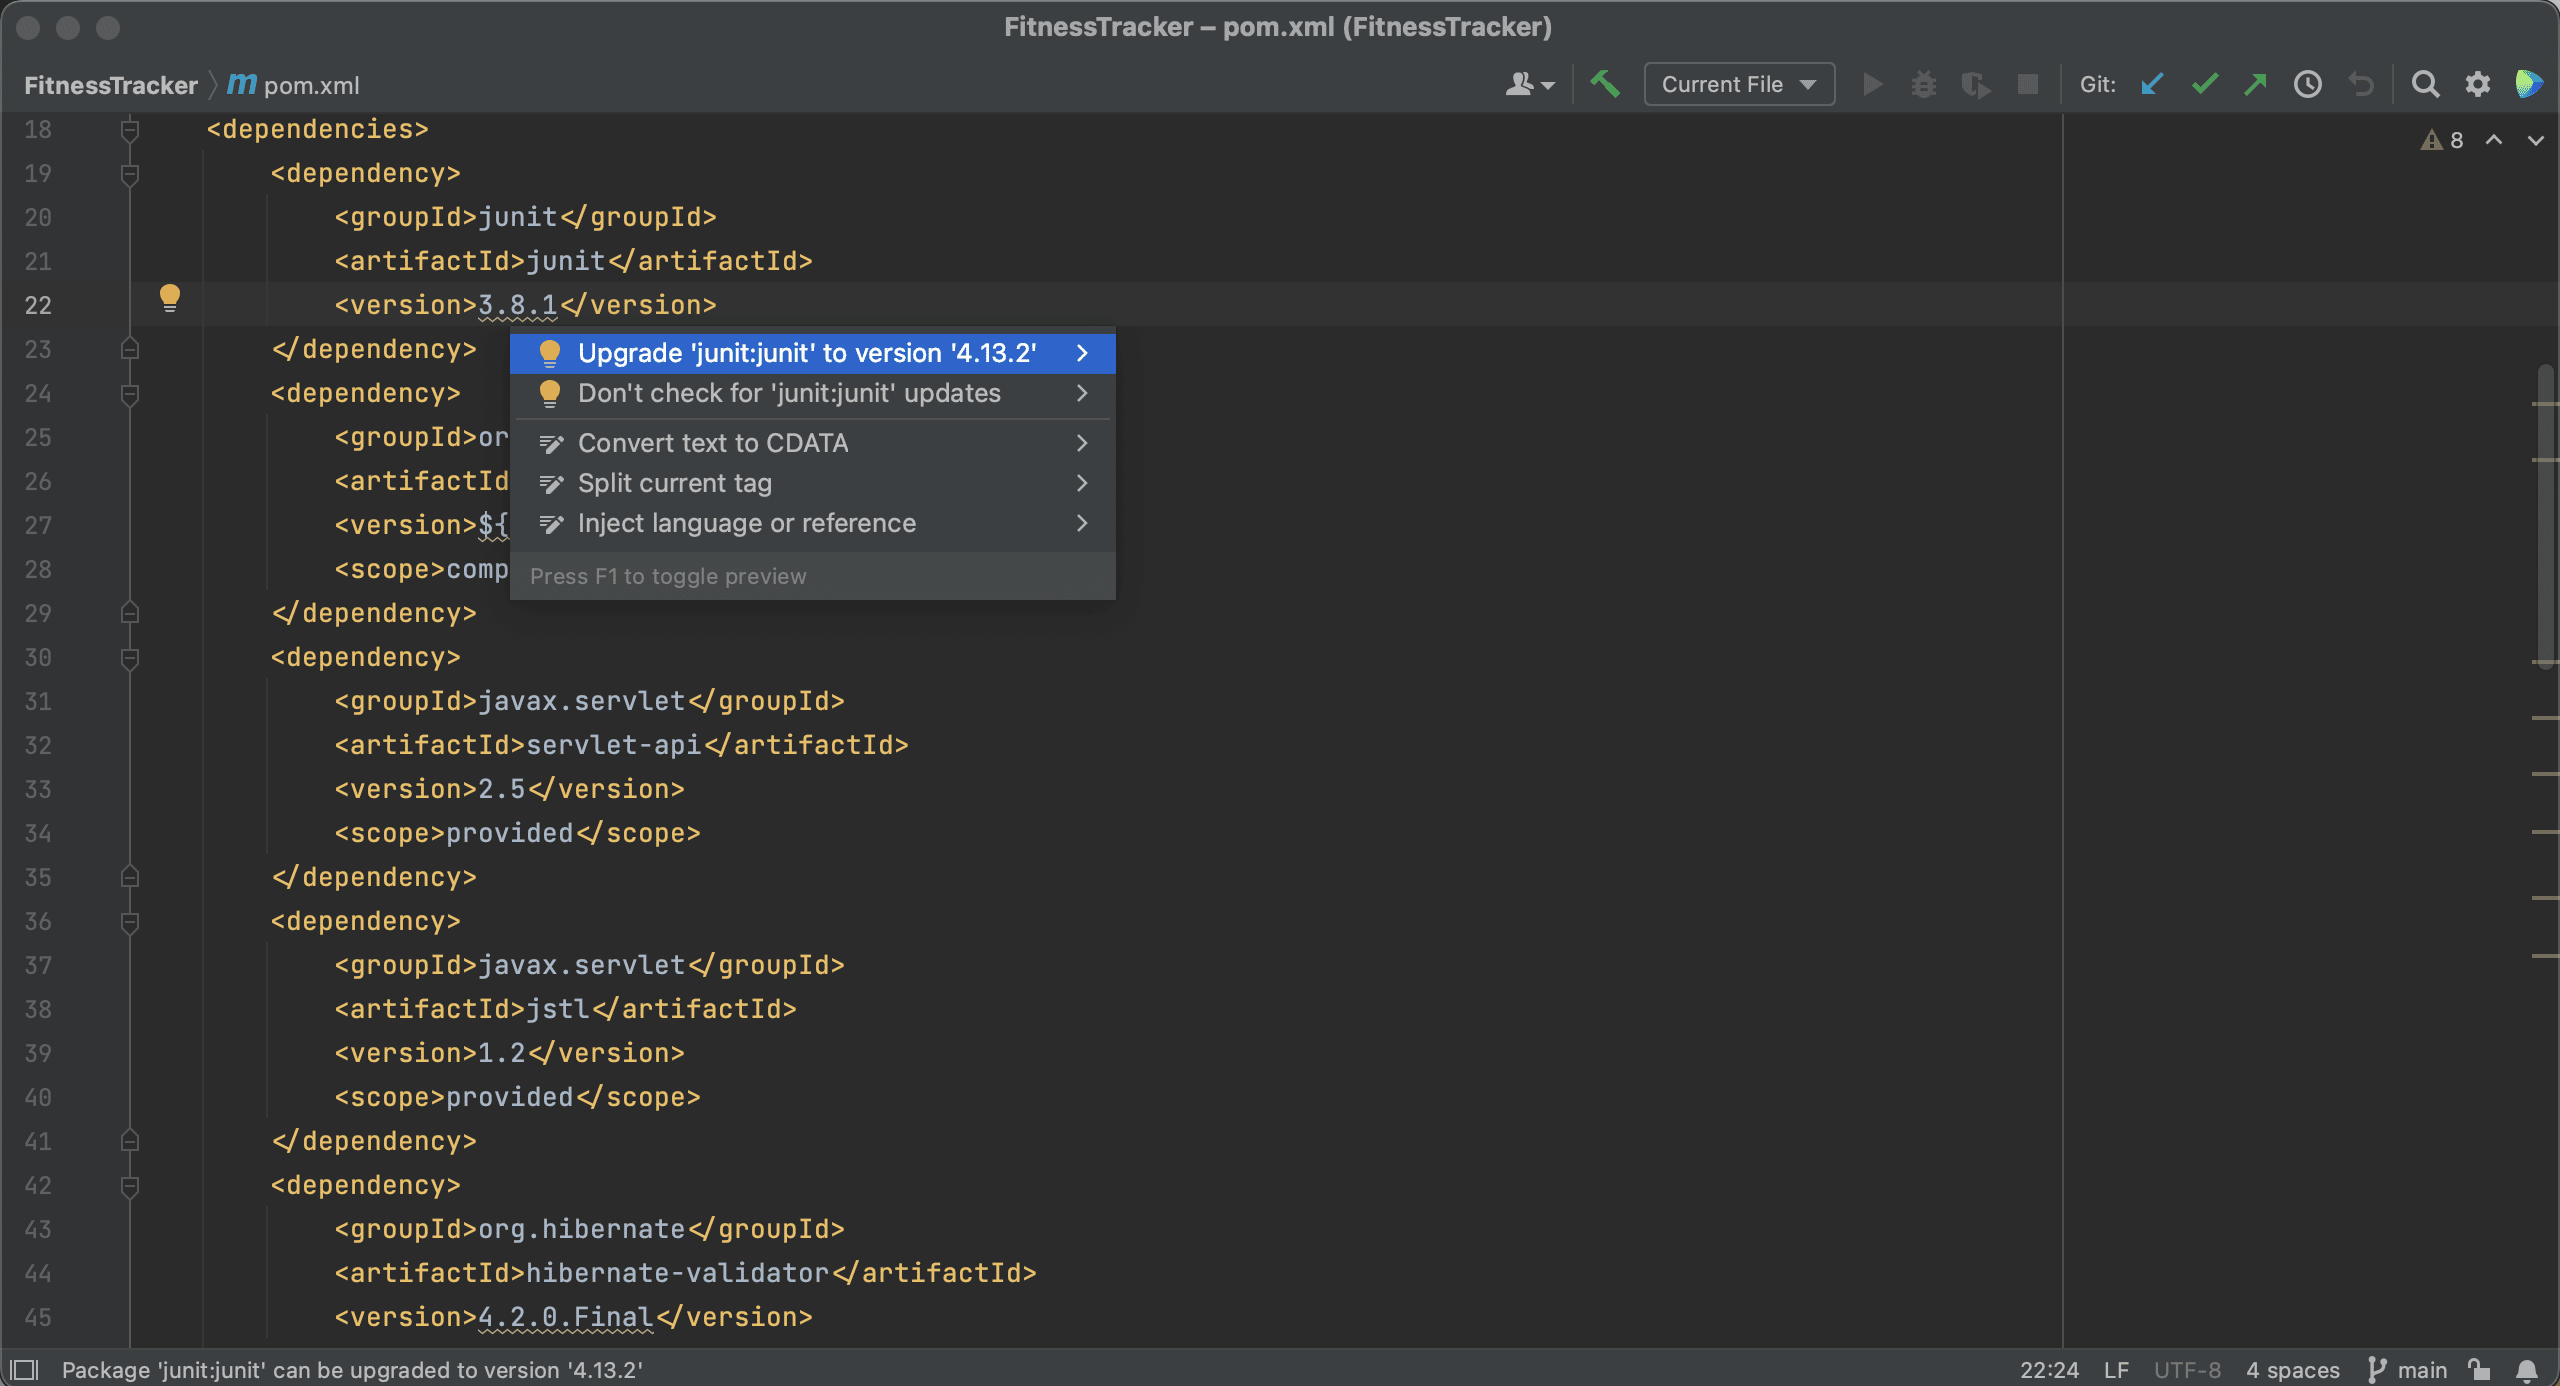
Fix errors and warnings with command completion
You can use this new feature to fix errors and warnings in your code. If you write code that doesn’t compile, IntelliJ IDEA will tell you. You can navigate to the error using F2 and press Alt+Enter to show context actions. However, Alt+Enter gives you only a few options; it is designed to give you the most relevant fixes to your problem. That means it might not always include the action you want to perform. On the other hand, command completion (..) offers you all actions that are relevant in your current context. IntelliJ IDEA will give you a preview of what each command will do.
Perform file- or class-level actions
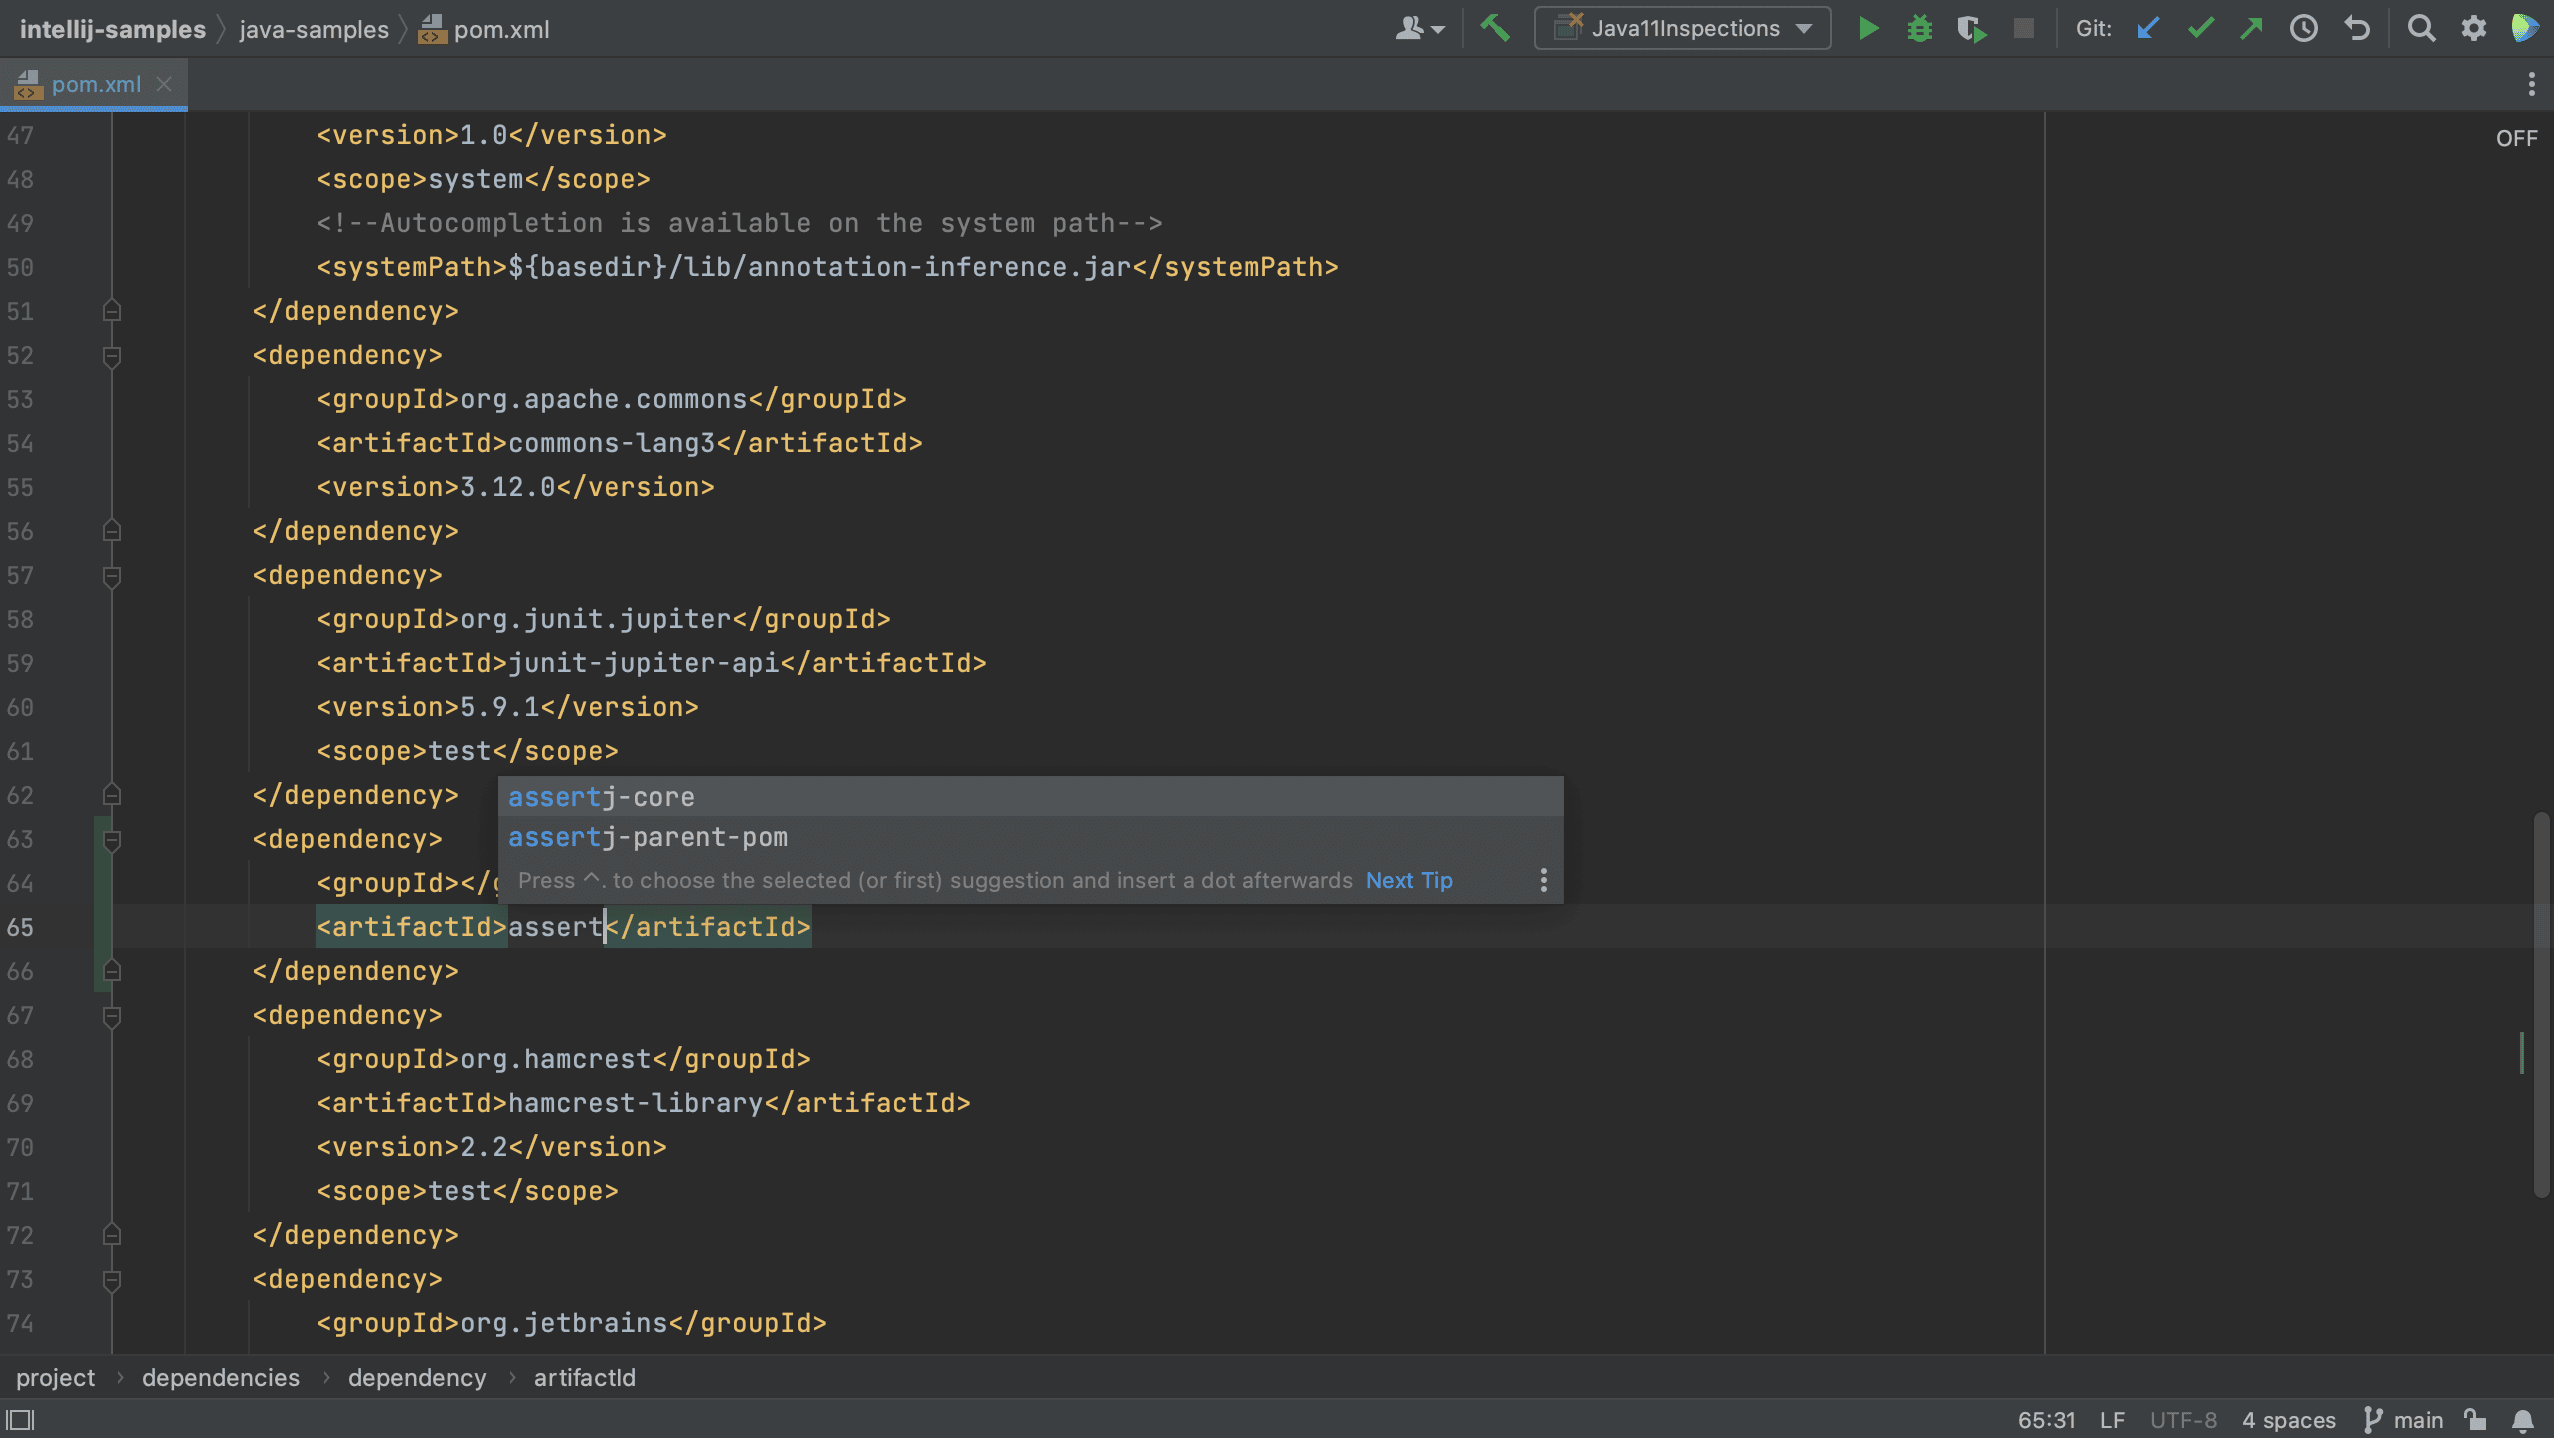
It is now possible to unlock this type of completion in places where it wasn’t available before, like on a blank line. Typing a dot on a blank line now shows you file-level actions, like Reformat Code or Optimize Imports. For example, use Optimize Imports to remove an import statement that is no longer needed.
Refactoring and code transformation
Command completion can also help you when refactoring or transforming your code. When writing code, you can use it to keep moving forward. For example, to create classes, methods and fields.
You can use it to generate code for you, such as a toString() method.
You can transform your code as you go, for example to make use of modern Java language features. For example, you can refactor a class into a record, using only command completion.
Use command completion for navigation
You can use it for navigation. For example, we can navigate to the String class declaration. You’ll notice that this file is read only! How will we use completion here? Don’t worry, you can change your settings to be able to use command completion in read-only files!
Open the Settings for Command Completion, by using Search Everywhere (Shift Shift) and searching for “command completion”. Select the option Enable command completion for read only files. Now, you can use command completion in read-only files, for example to navigate back to where you were.
If you want to rename your class, you can use a shortcut to do so, but you need to know this shortcut (⇧F6 on macOS / Shift+F6 on Windows/Linux). Now, you can use command completion instead. Go to the end of the class or method name you want to rename and type ..rename.
Aliases for several commands
In some cases, you don’t even need to know the exact name of the command you’re looking for, as some commands have aliases. For example, you can also use ..change name instead of ..rename.
This makes features even more discoverable; you don’t need to remember the exact name of the feature.
Complements existing features
You can still use existing shortcuts, postfix completion and live templates. Command completion is intended to complement existing features.
Imagine we declare a new instance of a class Person. To assign this new Person() to a variable, you can use the shortcut to Extract Variable (⌥⌘V on macOS / Ctrl+Alt+V on Windows/Linux). But this requires you to know this feature exists and the relevant shortcut.
Alternatively you could use postfix completion .var to create a variable. But that would again require you to know (or quickly be able to find) this specific postfix completion.
Instead, you can now use command completion to introduce a local variable. After the declaration of the new instance, use ..Introduce local variable.
If you want, you can still use postfix completion. For example, you type person.sout to print variable person to System.out: System.out.println(person);.
You can transform this code to modern Java and use features introduced in Java 25, like simple IO. After the line System.out.println(person); type .. and select ..Replace with IO.println().
You can use refactoring, like Extract Method (⌥⌘M on macOS / Ctrl+Alt+M on Windows/Linux), even if you don’t remember the shortcut. To do so, type .. and select ..Extract method after the method you want to extract.
What if you want to add JavaDoc to your code? You could use Alt+Enter to Add JavaDoc. But now you can also use command completion to generate JavaDoc, and convert it to Markdown.
As you can see, using command completion is as easy as adding a dot, or two..
Conclusion
Command completion extends regular completion – which you already use. It lets you discover and use IntelliJ IDEA features without having to remember shortcuts. This keeps you in the flow of coding; you can think about what you want to do, instead of how to do it.
Type a . to find commands as part of regular completion, or .. to see all available commands relevant to your current context. You might discover powerful features you never knew were there!