

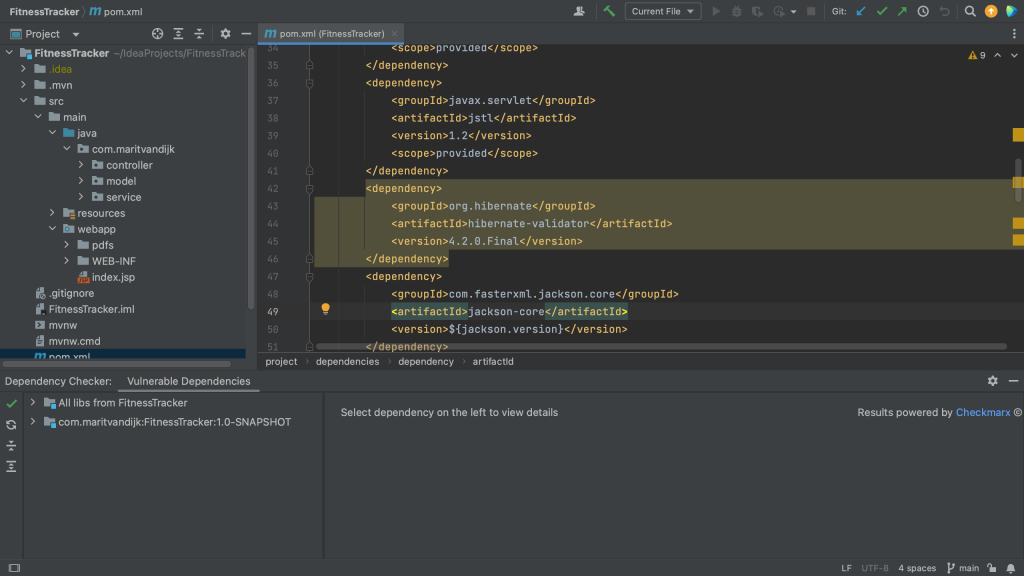
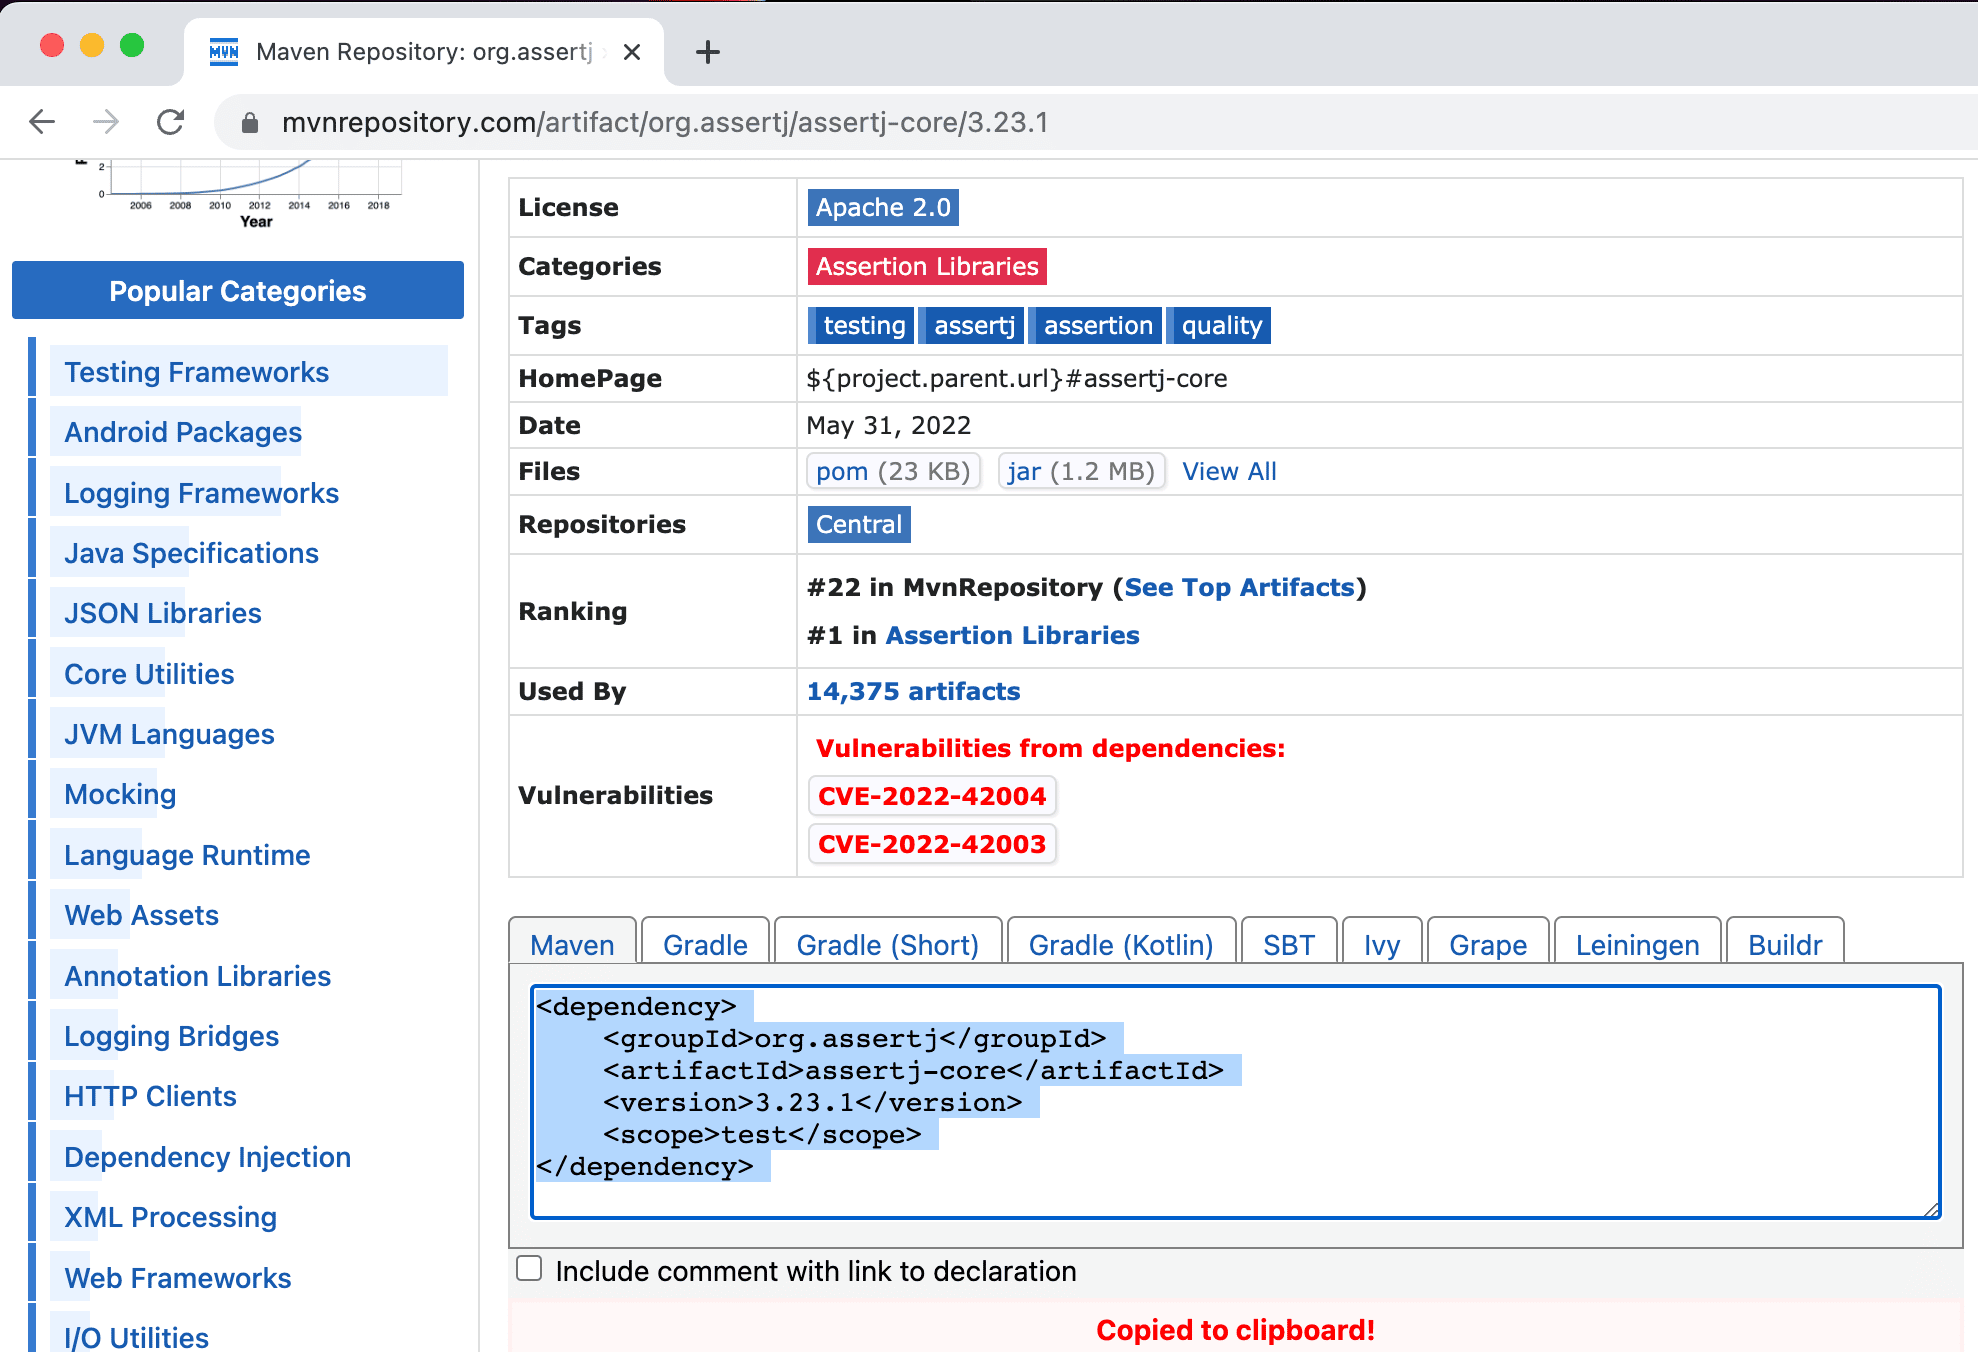
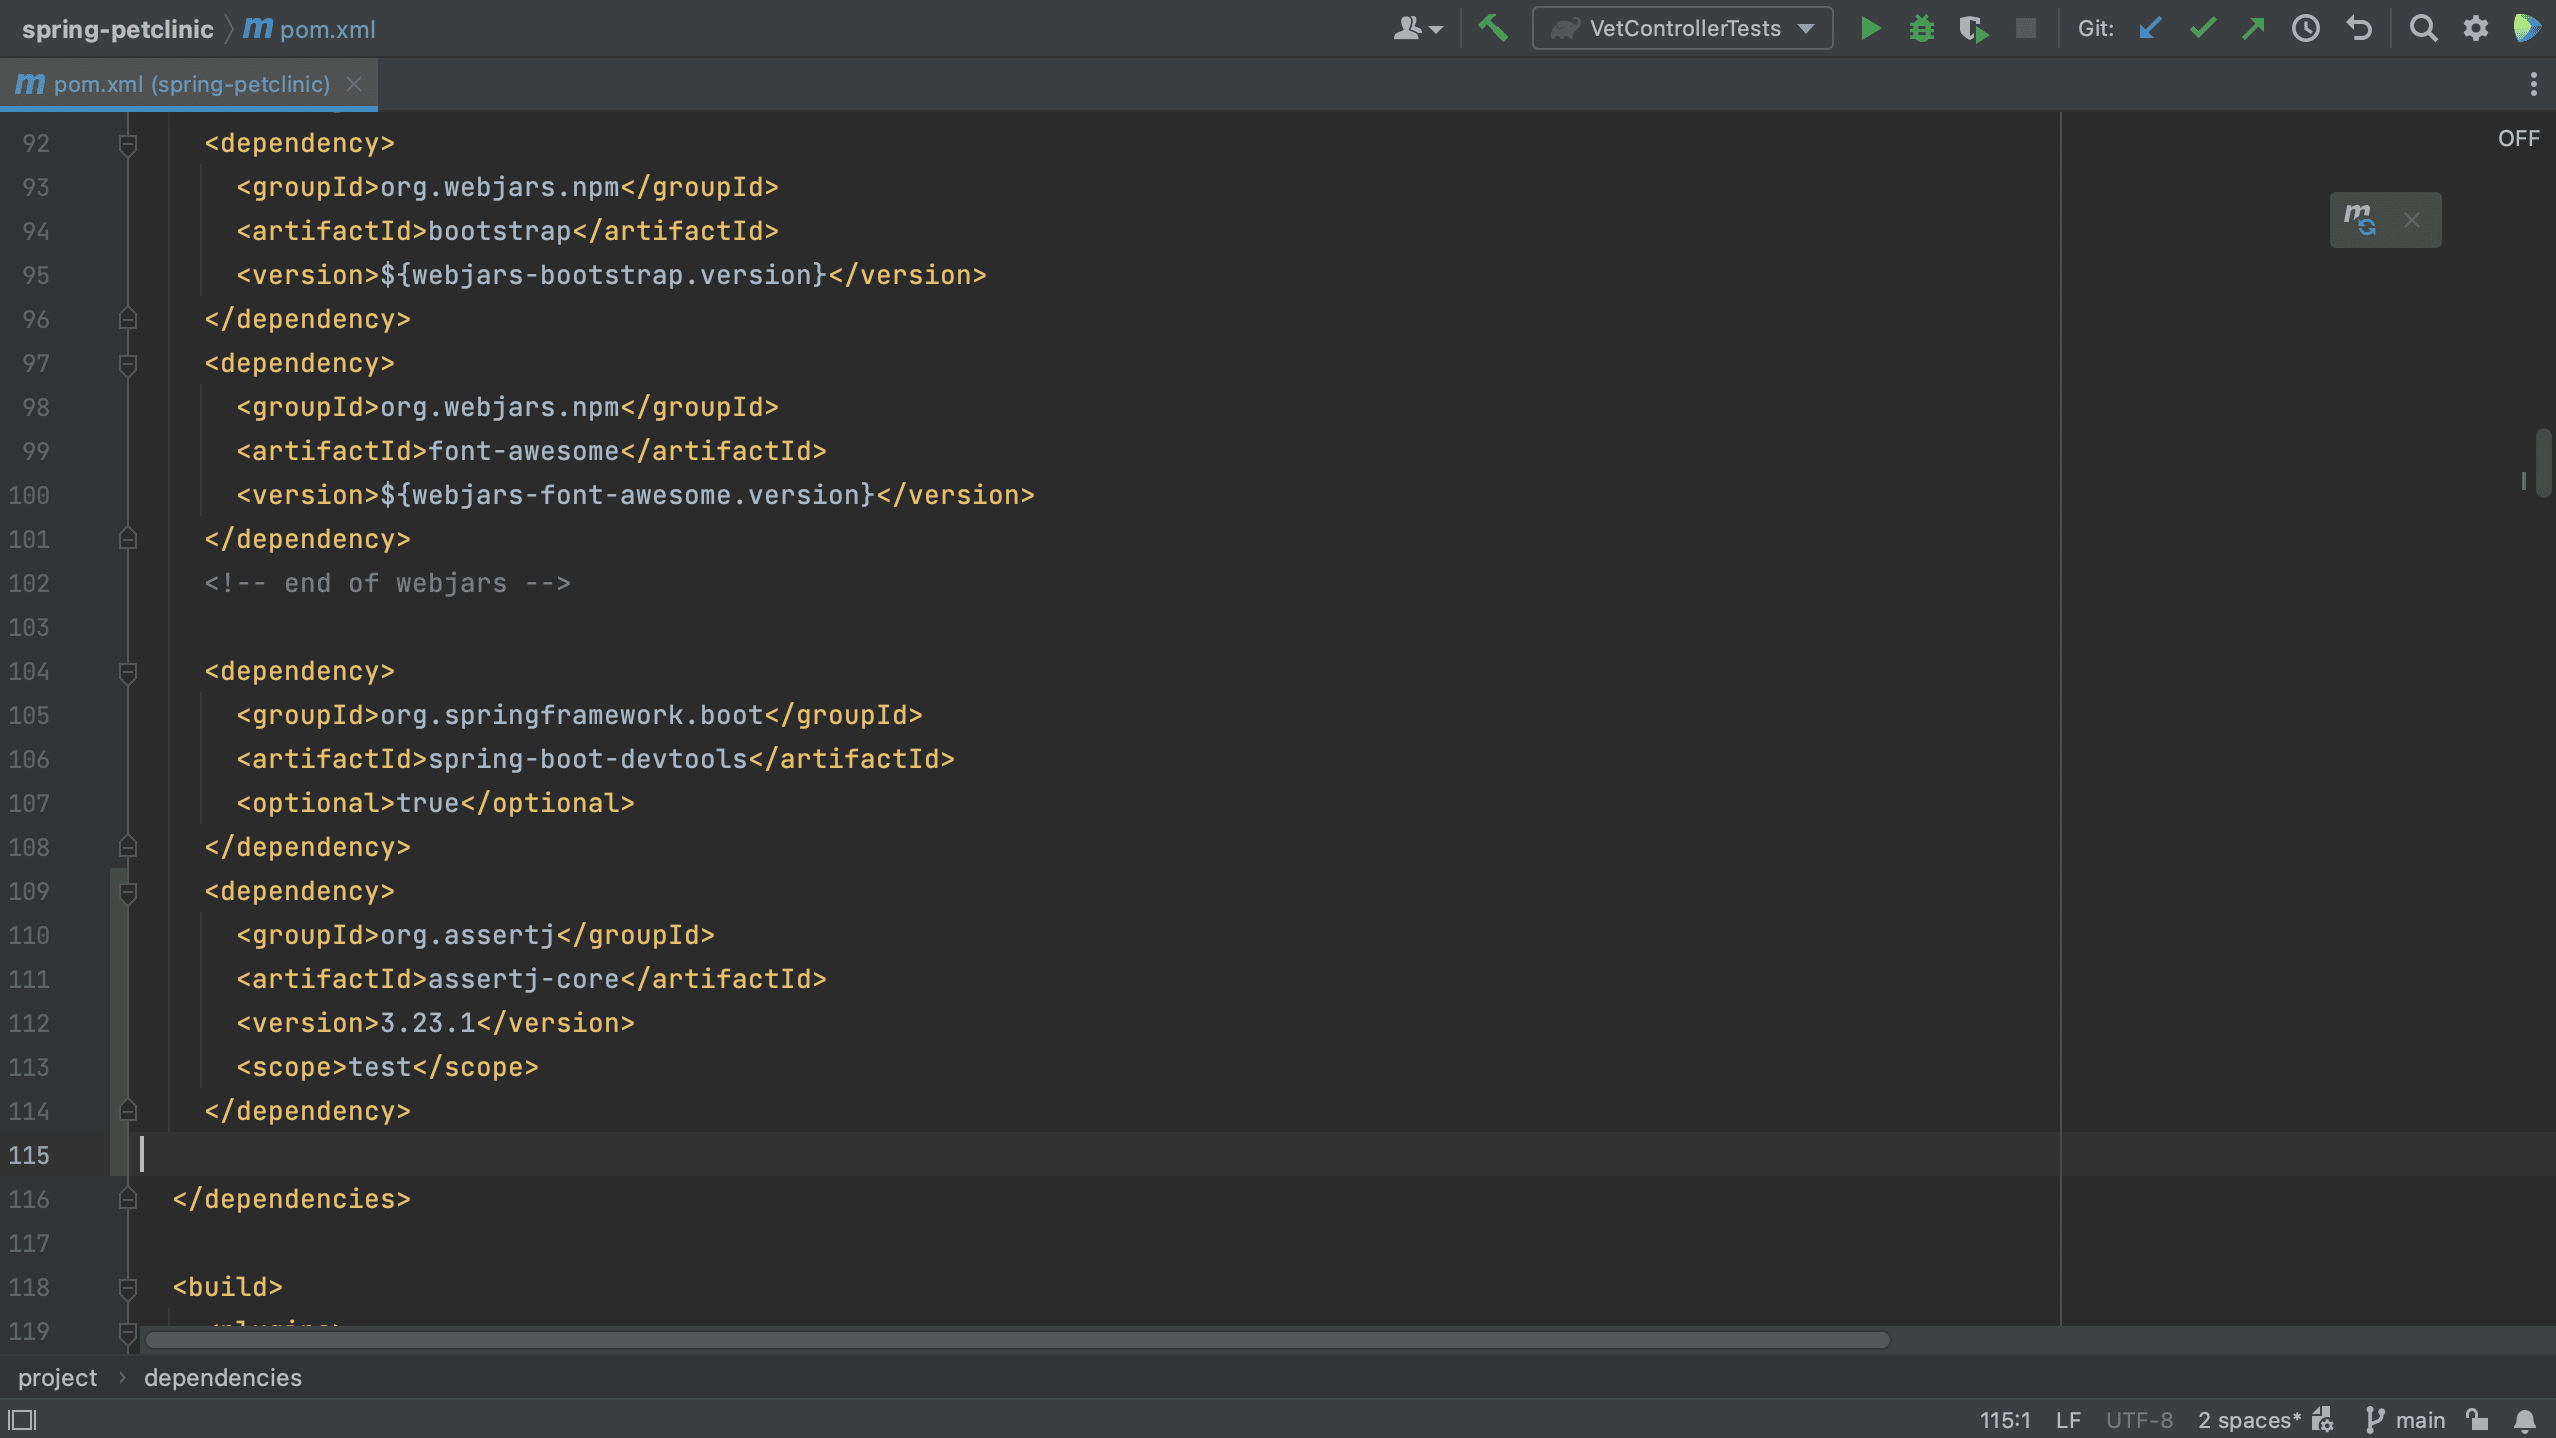
Any real world Java project will likely use external dependencies. As we’ve seen over the last few years, it’s important to keep these dependencies up to date. We used to have to manually check for updates, but fortunately these days there are tools available that can help us with this. Because, let’s be honest, most developers don’t enjoy maintaining applications. We’d much rather be using cool new tools and/or language features, and solving interesting problems. Sorry, I mean: delivering business value! But we are responsible for keeping our dependencies up to date, so let’s make that as easy as possible. In this blog post we will look at one category of tools that can help us: bots that can automatically create pull requests (PRs) to keep dependencies secure and up to date.
For Java, we currently have three options: Dependabot, Renovate and Snyk Open Source. They each support other programming languages too, but as I mostly use Java and other JVM languages I have limited myself to these. Let’s take a look at which features they provide and their similarities and differences.
Sidenote: In order to try out and compare these bots, I’ve added them one by one to my personal GitHub profile and will describe here how to add them to your GitHub profile, as well as link to information about other integration options.
Dependabot
The first bot we will look at is Dependabot. Since Dependabot is GitHub native, we can enable most of its features from the Settings > Security > Code security and analysis. Here we can enable (or disable) the available features, and select which ones we would like to automatically enable for new repositories.
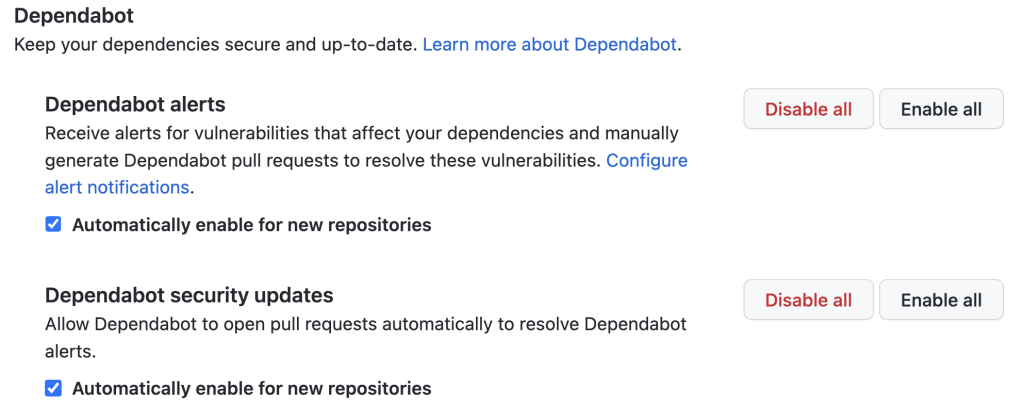
Features
Dependabot offers the following features: Alerts, security updates and vulnerability updates.
When Dependabot is enabled, it provides a Dependency Graph under the Insights tab of your project. The Dependencies tab shows any alerts to the owner of the repository. The Dependents tab shows any projects that depend on your project. In the Dependabot tab version updates can be configured.
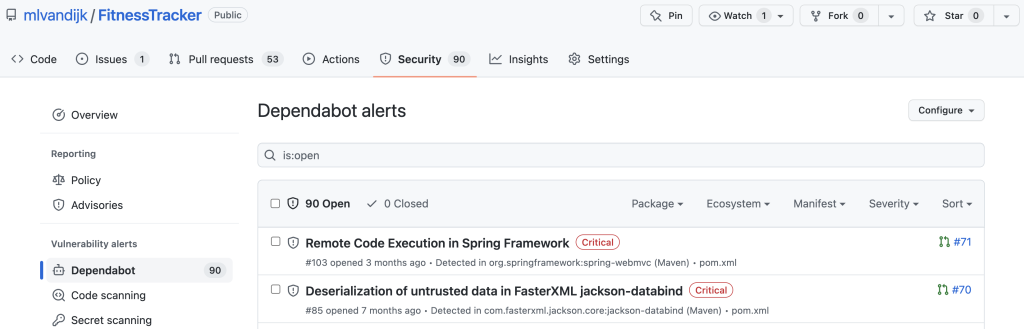
When we enable Dependabot alerts, we will receive alerts for vulnerabilities in our repositories and we can manually generate pull requests (PRs) to resolve them. We can configure how we would like to receive these alerts. We can also view them in the Dependency Graph in the Dependencies tab.
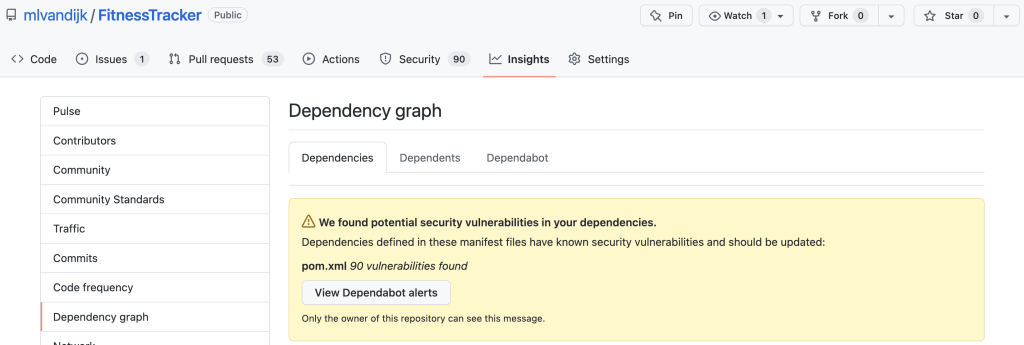
We can click the button to View Dependabot alerts to see more information about the alerts.
Pull requests
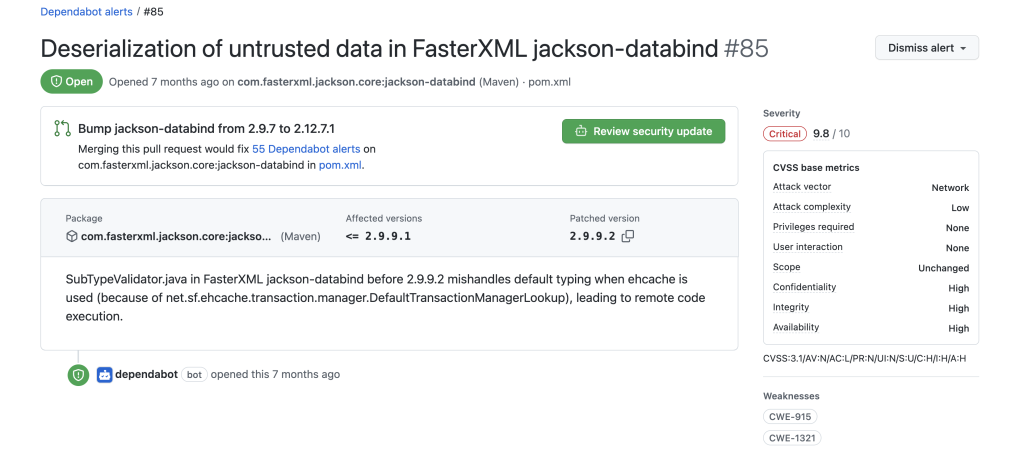
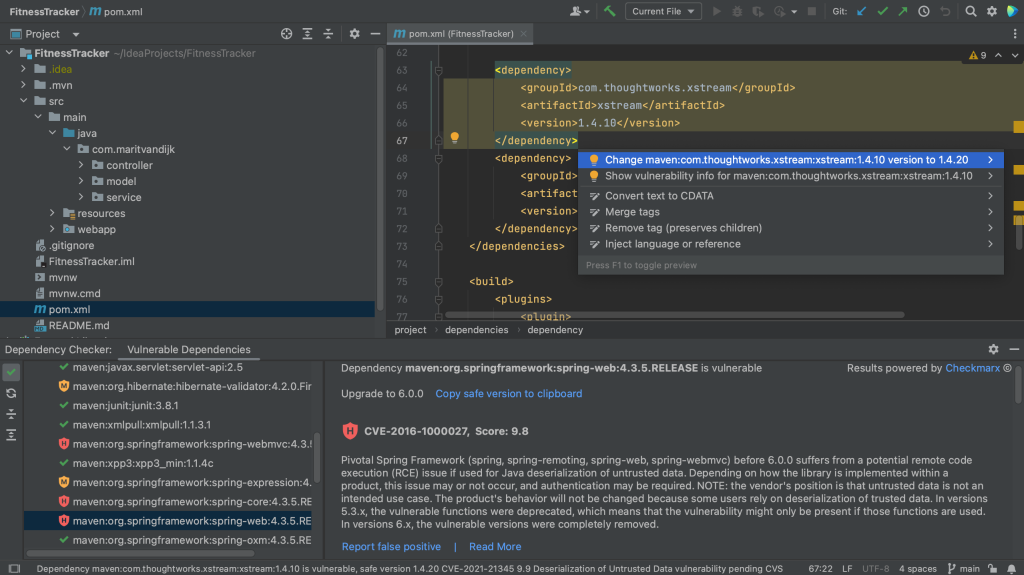
When we enable Dependabot security updates, Dependabot will open pull requests (PRs) automatically to resolve vulnerabilities. These PRs provide information about the severity of the vulnerability, CVSS base metrics, and CVEs. We can hover over the CVSS base metrics and CVEs to get more information. We can review the changes, or dismiss the alert.
To enable version updates, you need to add a dependabot.yml file to your repository.
Configuration
In this configuration file, you need to provide the package manager, the directory that contains your manifest file and a scheduling interval (daily, weekly, or monthly). You can configure more options, like when it should be scheduled (date, time, timezone), the maximum number of PRs (the default is 5), rebase strategy, settings that can help you manage the PRs like target branch, assignees, reviewers, commit messages and labels, and more. For more information on configuration options, see the Dependabot documentation on configuration.
Integration
While Dependabot is GitHub native, it is possible to run it locally or on GitLab too.
Renovate
Like Dependabot, Renovate offers security updates and version updates. In addition, Renovate will also create a project dashboard listing all updates needed on a particular project.
Renovate is available on GitHub via a GitHub app. To configure Renovate for your GitHub account, go to https://github.com/apps/renovate. Renovate allows you to set Repository access to either All repositories or Only select repositories. Renovate is the only one of these three options that allows you to try it out on only one repository first, so if you’ve never used one of these bots, I’d recommend starting with Renovate on one repository.

Renovate will create an onboarding pull request to the selected repositories. The onboarding PR contains basic configuration for Renovate to run. It describes the configuration in a Configuration Summary, and provides some information about What to Expect when the PR is merged (in this example, a list of PRs that will be opened).


Note: These screenshots were taken from the PR created in September 2022. It may have changed since then.
Configuration
Renovate offers additional configuration options. In addition to setting a maximum number of PRs, Renovate allows you to to set a maximum number of concurrent branches or even an hourly limit, which can help to keep the number of open PRs and branches manageable. Renovate also lets you configure when to rebase (or not), and settings to help you manage the PRs assignees, reviewers, commit messages, labels, and more. Overall, Renovate offers more configuration options, and these options are more fine-grained than Dependabot’s options.
For more information, see the Renovate documentation on configuration options.
Once the onboarding PR is merged and the configuration file is added to your repository, Renovate will start opening pull requests with updates on the selected repositories.
Pull requests
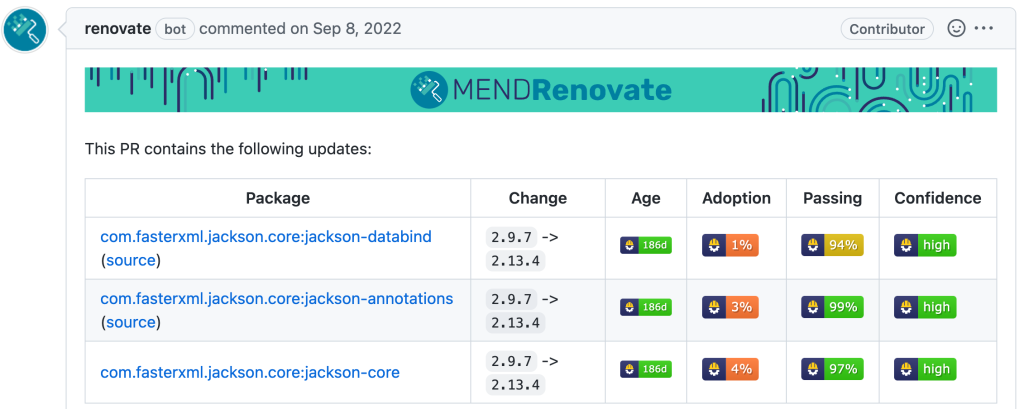
These PRs contain information about the reason a PR was created including which package was updated, the current and new version, as well as the following information to help you decide whether or not to merge the PR and apply the update (apart from your build being green).
- Age: The age of the package
- Adoption: The percentage of this package’s users (within Renovate) which are using this release
- Passing: The percentage of updates which have passing tests for this package
- Confidence: The confidence level for this update
For more information, see the Renovate documentation on merge confidence.
Auto merging PRs
In addition, Renovate offers the option for rule based auto merging of PRs; a feature that lets you automate upgrading dependencies. When auto merging is enabled, Renovate tries to merge the proposed update once the tests pass. Renovate recommends that you enable auto merge only for any type of dependency updates which you would just merge anyway, and keeping auto merge disabled for updates where you want to review the release notes and/or code before merging. Of course, great test coverage is also very helpful here! Renovate is currently the only of these three options that offers this feature.
Dashboards
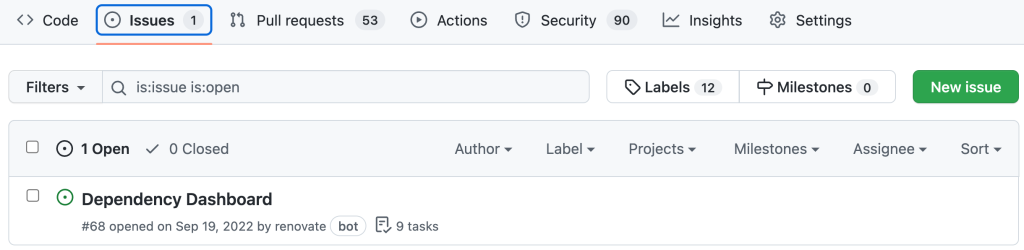
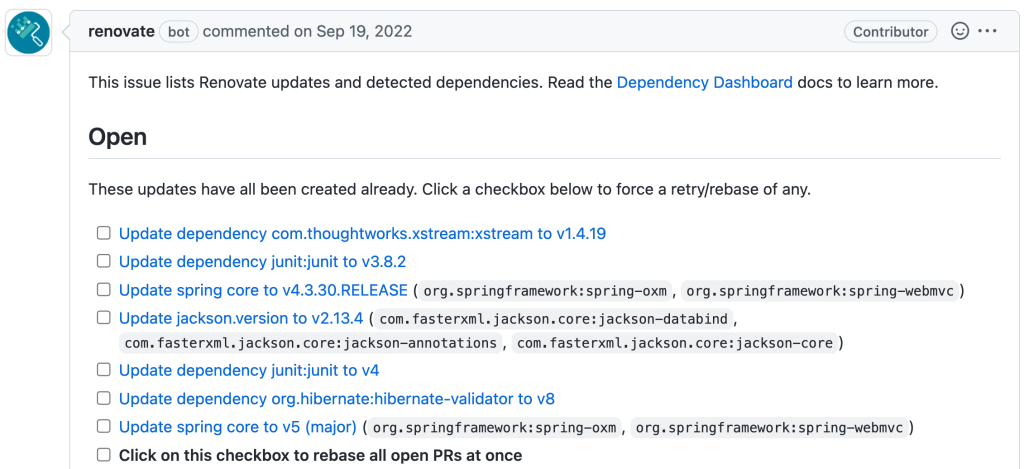
Finally, Renovate will add a Dependency Dashboard to your project, listing all Renovate updates and detected dependencies. This dashboard can be enabled or disabled as desired.
In addition, Renovate provides a general dashboard with all projects & jobs run, which you can find under https://app.renovatebot.com/dashboard if you have Renovate enabled.
Integration
Note: If you are not using GitHub, Renovate currently also supports other platforms. For more information, see the Renovate documentation on supported platforms.
Snyk Open Source
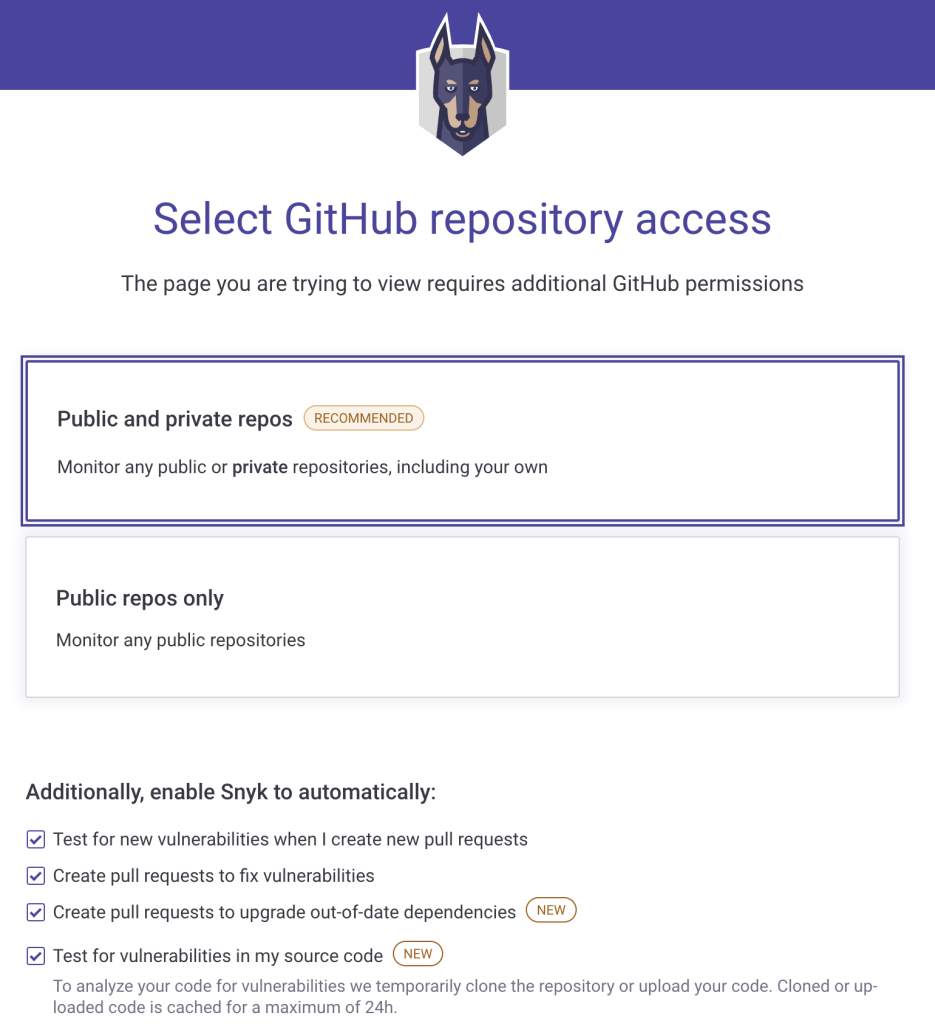
Snyk Open Source is available from Snyk. There are more steps to enable it for your GitHub Profile, but it also offers more features. To enable Snyk Open Source, go to https://snyk.io/product/open-source-security-management/ and select Start free. You will need to Authorize snyk on your GitHub profile, select repository access (either Public and private repos or Public repos only), select other available features you want to use, and provide a Personal access token on GitHub.
Features
In addition to security updates, version updates, and dashboards, Snyk Open Source offers to test for new vulnerabilities and/or test for vulnerabilities in source code. These options are currently not offered by Dependabot or Renovate. As this blog post focussed on tools to help you detect possible vulnerabilities in your dependencies and automatically create PRs to upgrade them, we will not look at scanning the source code for vulnerabilities here.
Pull requests
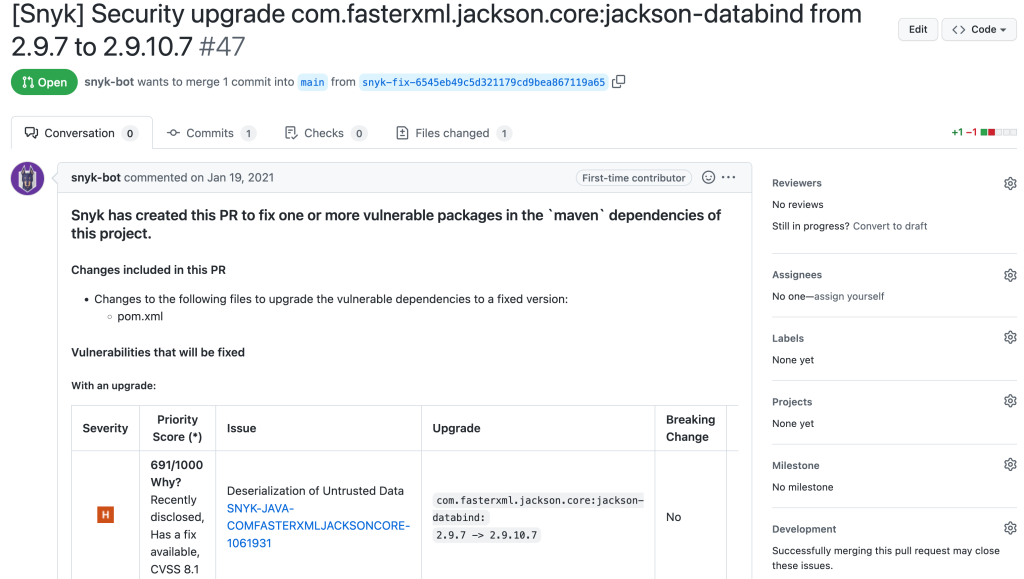
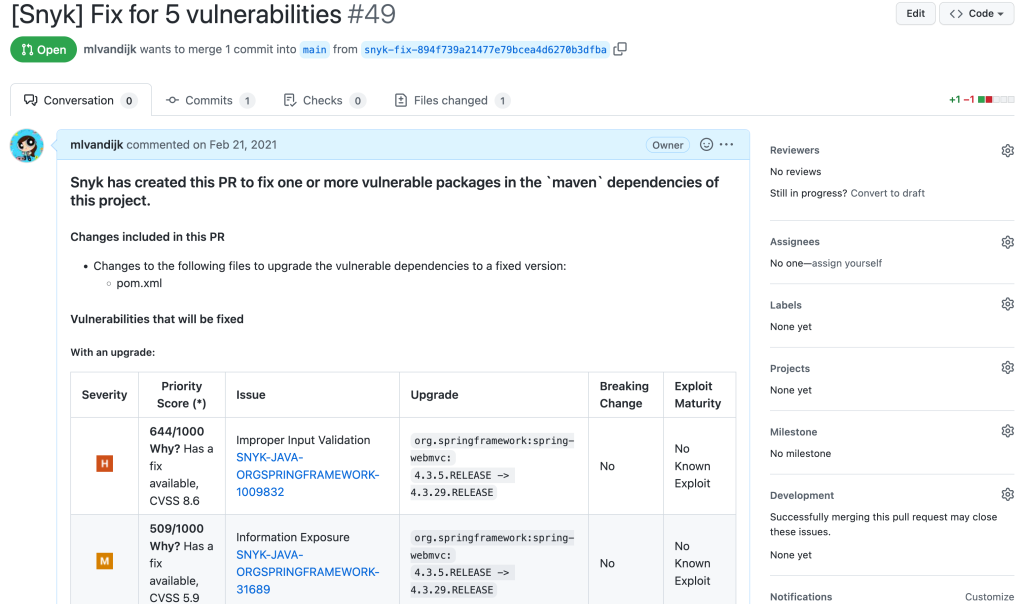
When enabled, Snyk Open Source will open PRs on the selected repositories. These PRs also include information about the reason for the PR, severity of a vulnerability, priority score and why it has this score, details of the version upgrade (current and new version), and more.
By default, Snyk Open Source will combine related updates into one single PR to help reduce the noise. Dependabot does not currently offer this option, while Renovate can be configured to do something similar.
Snyk Open Source also has the option to test for new vulnerabilities. When enabled, incoming PRs will be checked for known vulnerabilities to make sure that no known vulnerabilities are added to the code base. Dependabot and Renovate do not currently offer this feature.

Configuration
We can configure the frequency with which Snyk Open Source should run (daily, weekly, never). We can enable or disable scanning for new and/or known vulnerabilities, so we can clear our backlog of known vulnerabilities separately from making sure we don’t get any new vulnerabilities. This might help getting started with updating outdated dependencies without getting overwhelmed with too many updates. Dependabot and Renovate do not currently offer this option. Finally, we can also enable or disable PRs for a single project, so we can start using Snyk Open Source on a single project like we can with Renovate, but this is not a default option.
Dashboards
The dashboards offered by Snyk Open Source are the most extensive of these three options. The dashboards provide an overview of known vulnerabilities found in your repositories with the number of vulnerabilities and their severity visible per project and overall.

Integration
You can use Snyk Open Source in the Snyk Web UI, with the Snyk CLI, in your IDE, or with an API. For more information, see the Snyk Open Source documentation.
Conclusion
As we have seen, the different bots offer different features. All of the options discussed here can automatically open pull requests for vulnerable dependencies and version upgrades. The information they provide with these PRs differs, as do the number and type of configuration options. Which bot is right for you will depend on needs and preferences.


